Hi everyone, it’s Twilife.
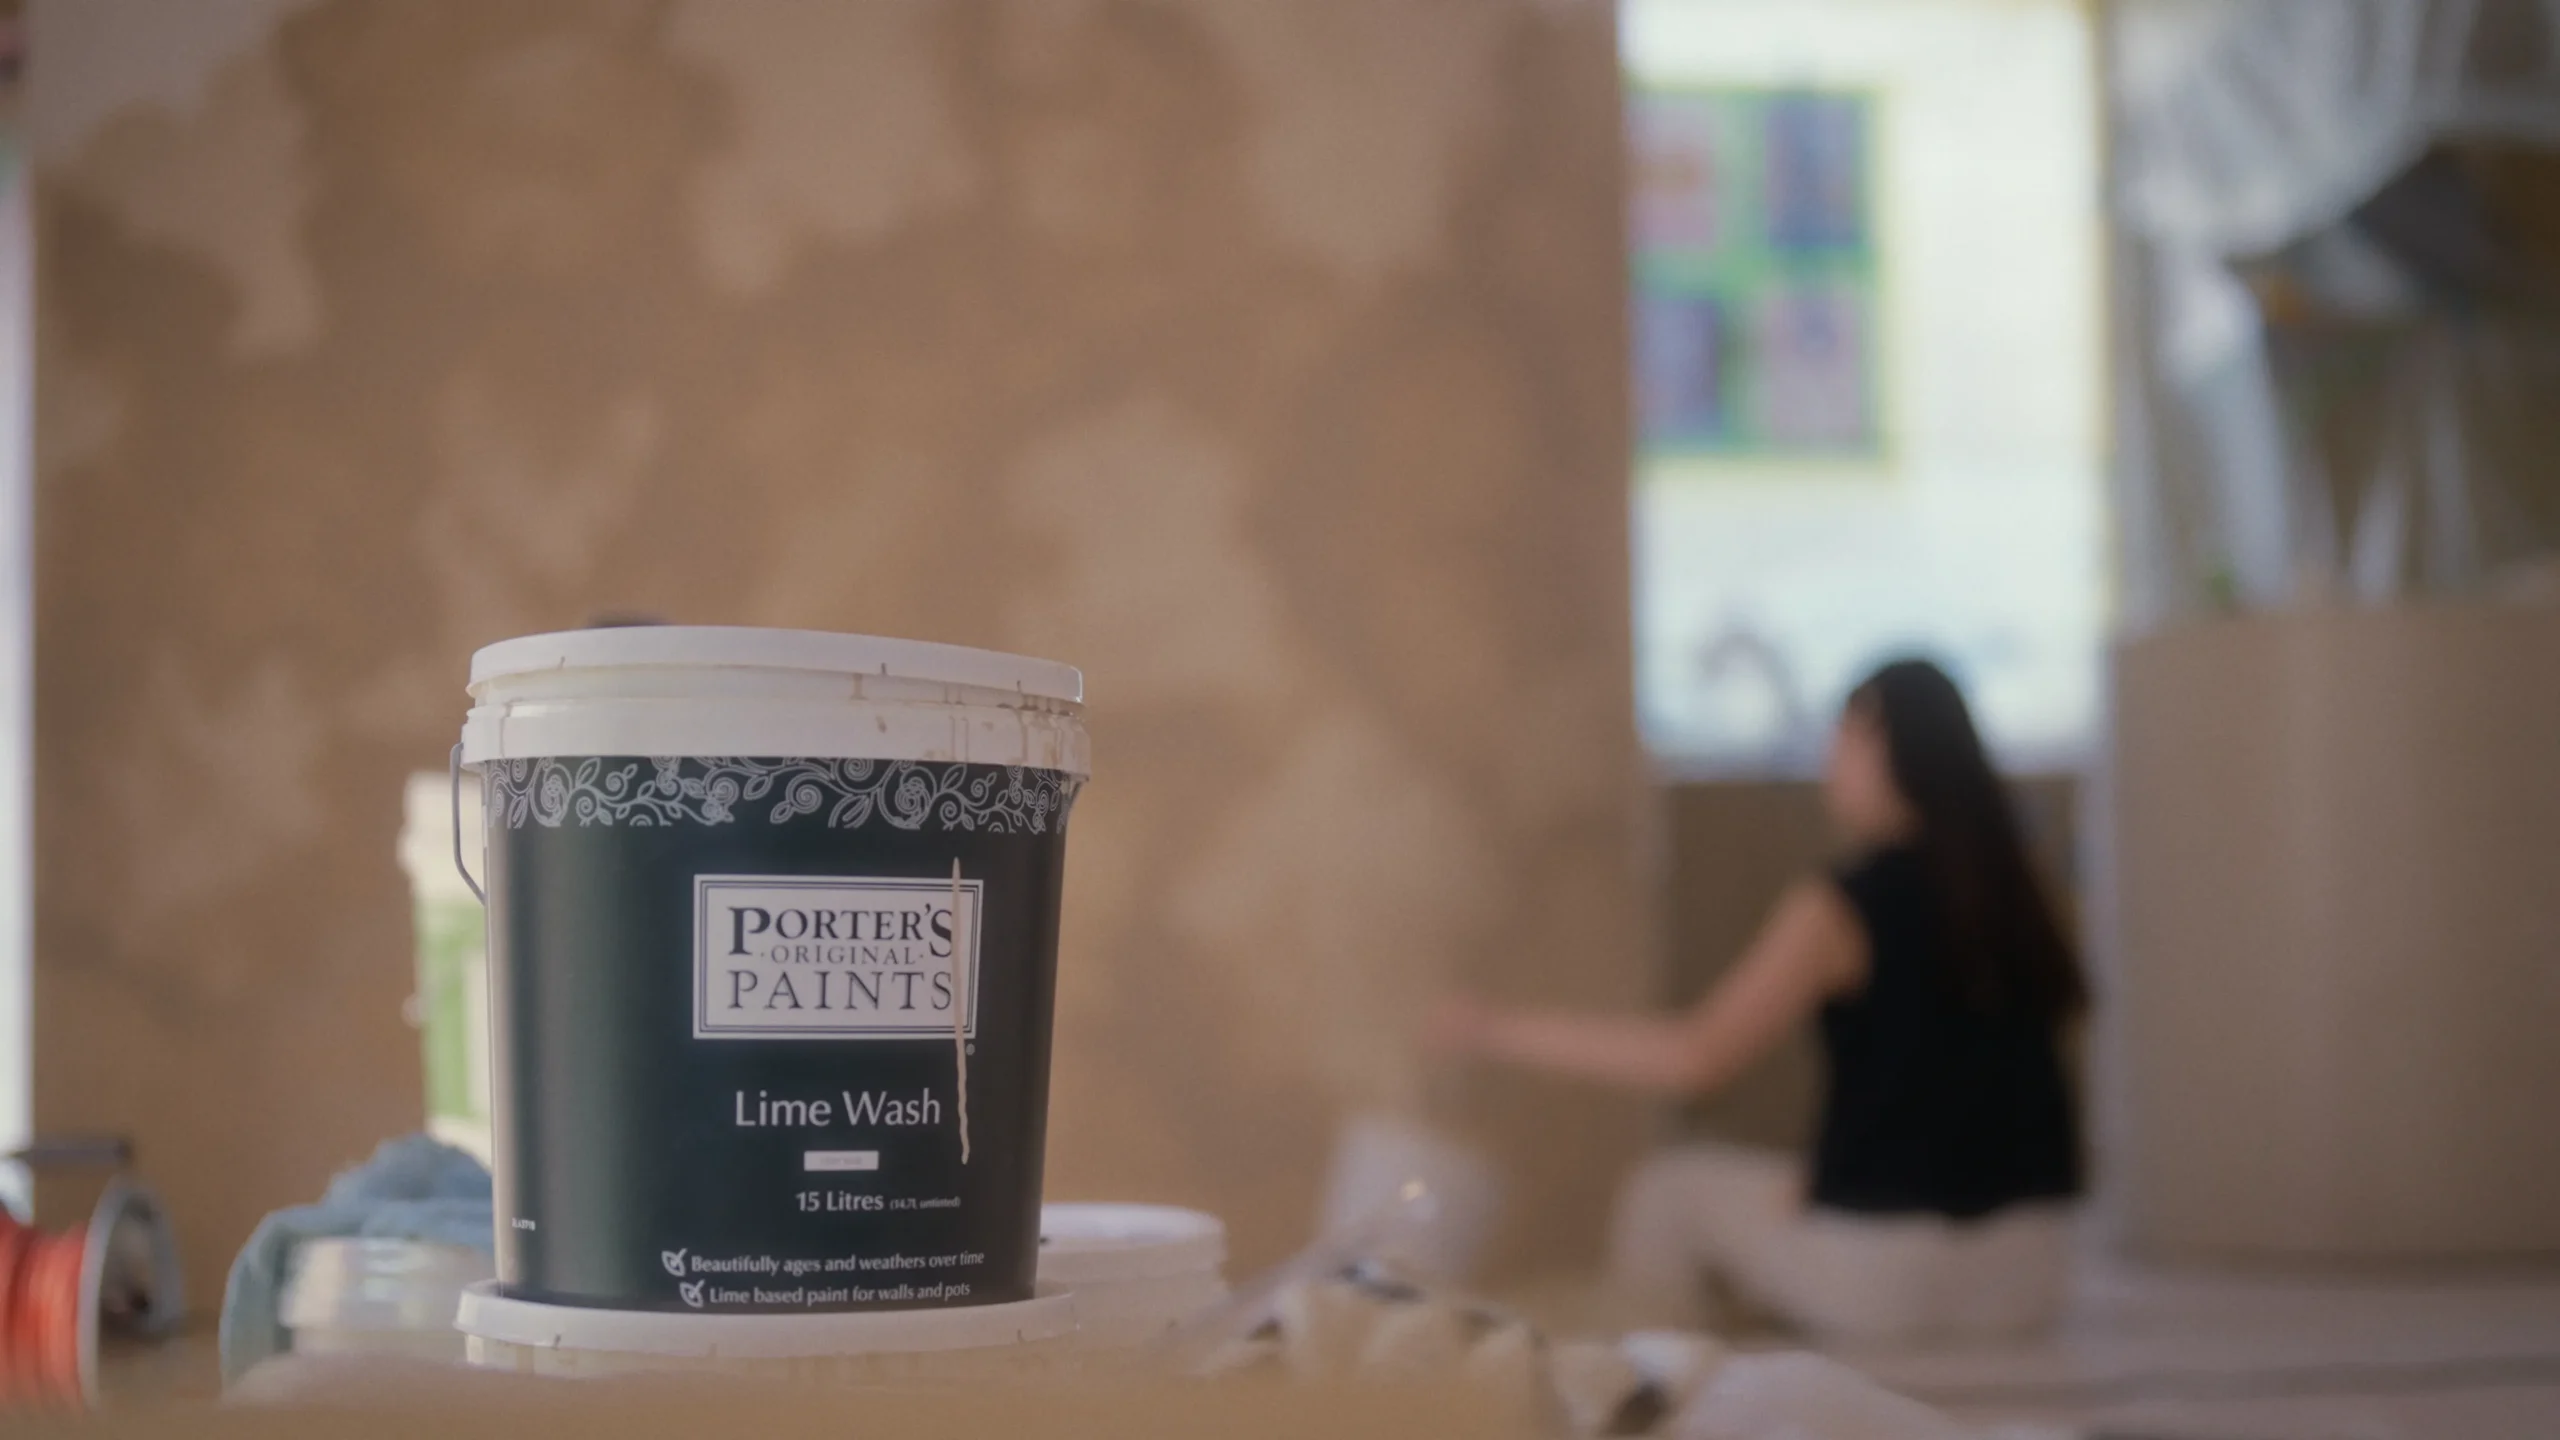
In our previous post, we talked about why we chose Porter’s Paints and the essential tools you need for a DIY painting project.
In this second half, I’ll explain the differences between the “3 textures” we actually used in our home, the colors we chose, tips for a beautiful finish, and how to touch up the highly challenging Limewash.
\ Click here to learn about prep and essential tools /
Textures and Colors
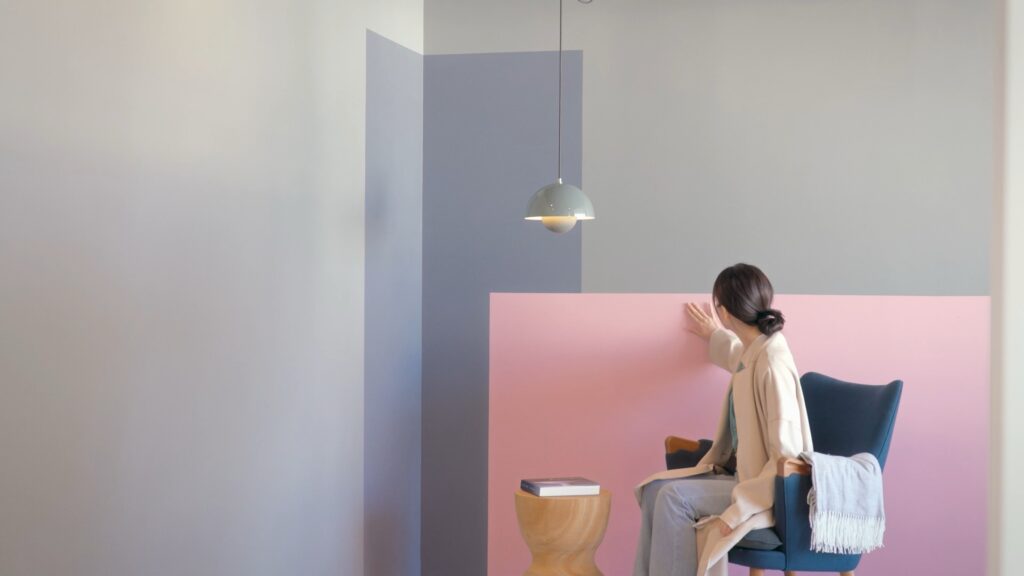
We used 3 different textures and 7 different colors, depending on the purpose of the space and the vibe we wanted to create.
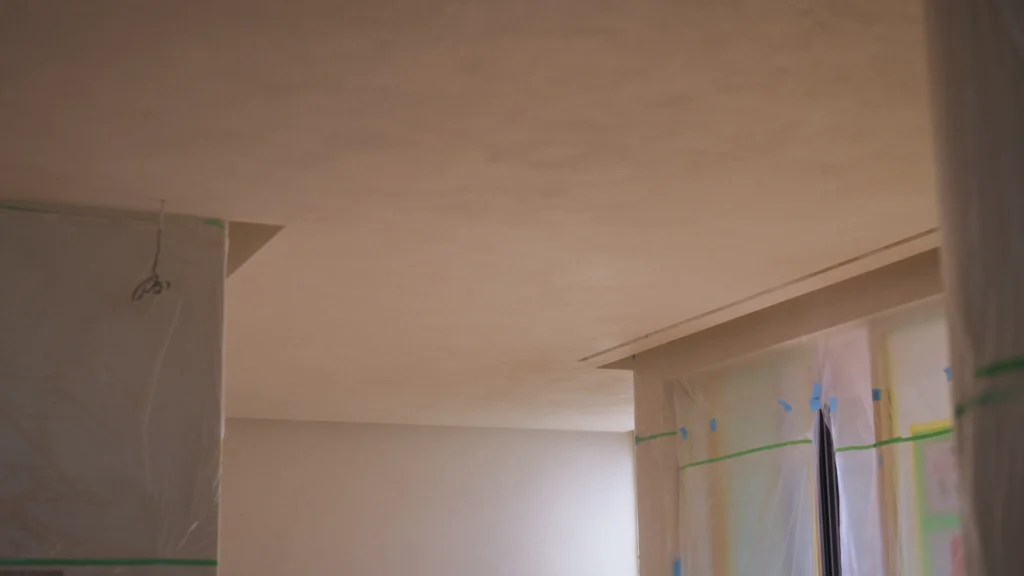
and the ceiling is Stone Paint Coarse.
Each paint differs greatly in “weight” (how difficult it is to spread) when applying it.
In order of smoothest and easiest to apply, it goes like this:
Limewash < Eggshell < Sealer (Primer) < Stone Paint Coarse
Stone Paint will leave your arms completely exhausted, while Limewash goes on as lightly as water.
Stone Paint Coarse
[Where we used it] 1F walls/ceilings, 2F hallway walls/ceilings
[Color] FLAX (a slightly reddish beige)

This paint contains coarse quartz grains, creating dramatic shadows when hit by light.
It gives off the most authentic “plastered wall” look, so I highly recommend it if that’s the exact vibe you’re going for.
Because the texture itself is uneven, minor things like stray brush bristles or tiny bits of dust don’t stand out. In terms of getting a good finish, I felt this was the most beginner-friendly paint.
Another great perk is that touch-up marks blend in seamlessly.
However, not only does it feel sluggish to spread, but the paint itself is physically very heavy.
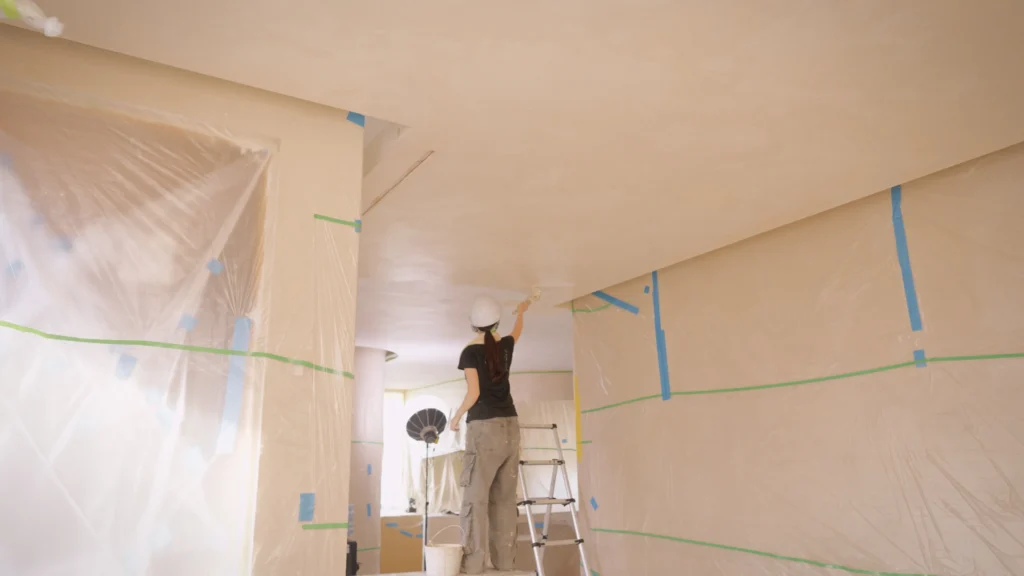
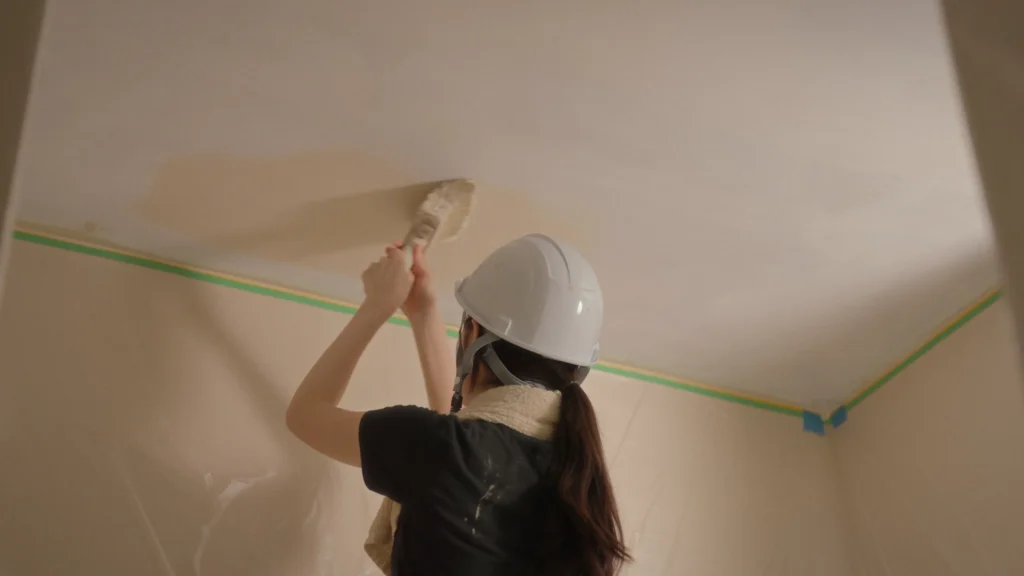
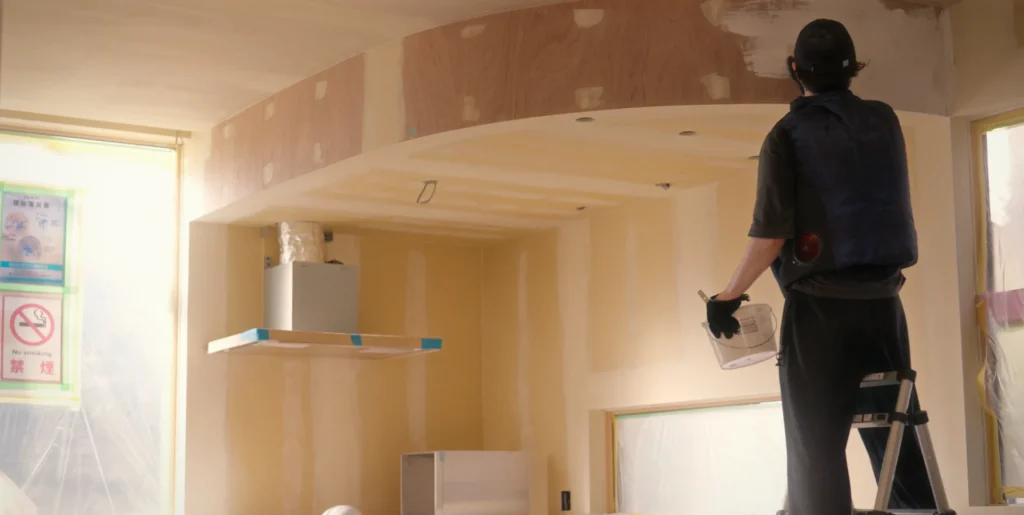
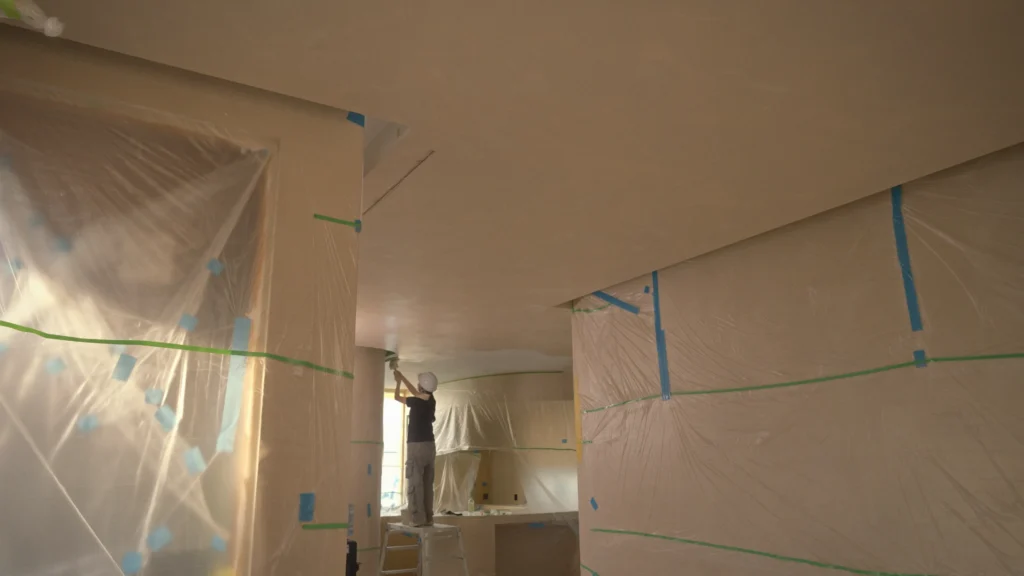
Our first-floor living room has 2.8m high ceilings, and we also had the double-height stairwell to paint. Wielding a heavy brush from high up on scaffolding was a battle against both physical exhaustion and our fear of heights.
If you plan to tackle this, please prioritize safety and be extremely careful.
It was such backbreaking labor that we couldn’t even lift our arms the next day, but the sense of accomplishment when we finished was irreplaceable. Even now, the final result moves me every time I look at it.
Eggshell
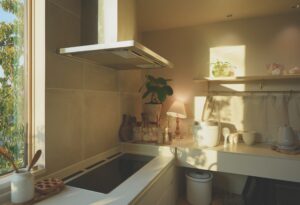
[Where we used it] Kitchen walls, workspace walls/ceilings
[Colors] FLAX, CHINA ROSE (Pink), NAPOLEON (Blue), RATTAN (Yellow), CAPER (Green), VAN HELSING (Black)
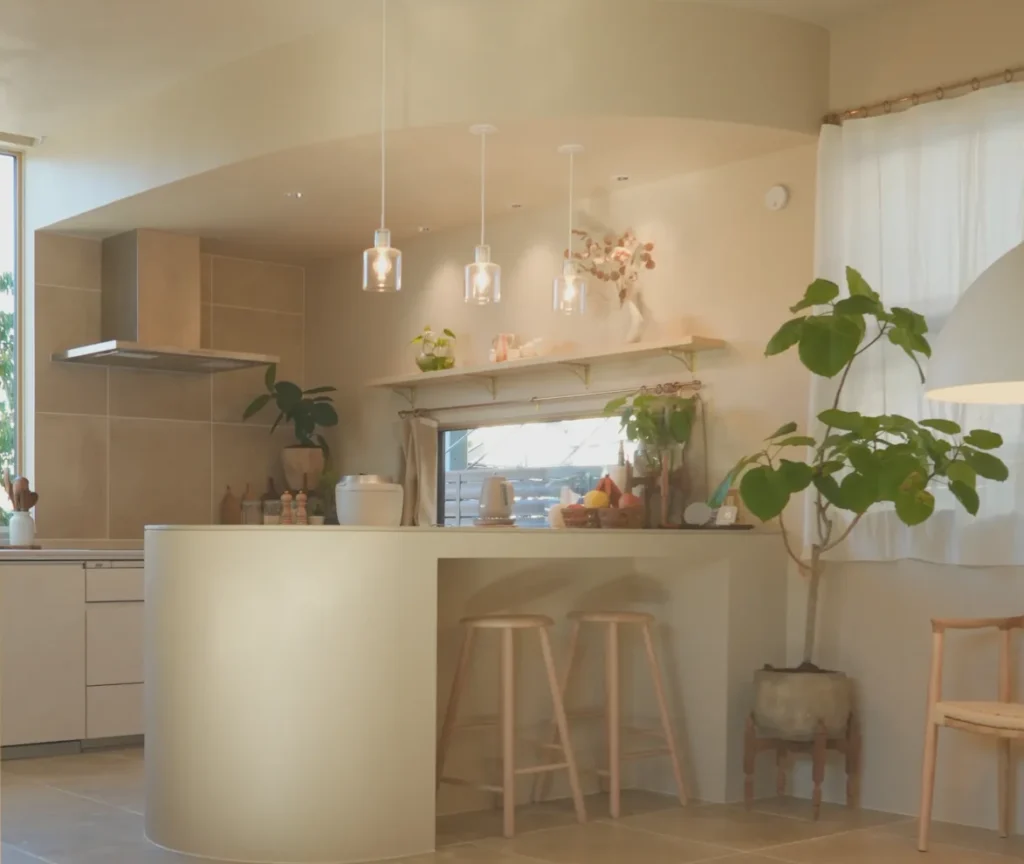
True to its name, this paint leaves an elegant, eggshell-like sheen.
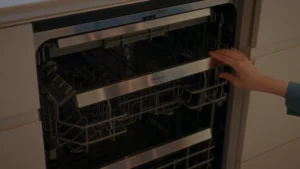
Because the surface is smooth and wipeable, it’s perfect for areas prone to messes like kitchens and bathrooms.
In reality, cleaning is a breeze—if it gets dirty, a quick wipe with a damp cloth cleans it right up.

The paint itself is much lighter than Stone Paint, making it smooth and easy to glide on.
However, because it dries to a smooth, flat finish, it has a delicate side: it easily picks up stray bristles, tiny specs of dust, and any unevenness in the base layer.
To get a flawless finish, thoroughly sanding before painting and frequently washing your brushes to keep them clean were absolutely essential.
The second coat is especially crucial because your brushstrokes directly dictate the final look. Creating brush patterns while envisioning the desired outcome was both fun and challenging.
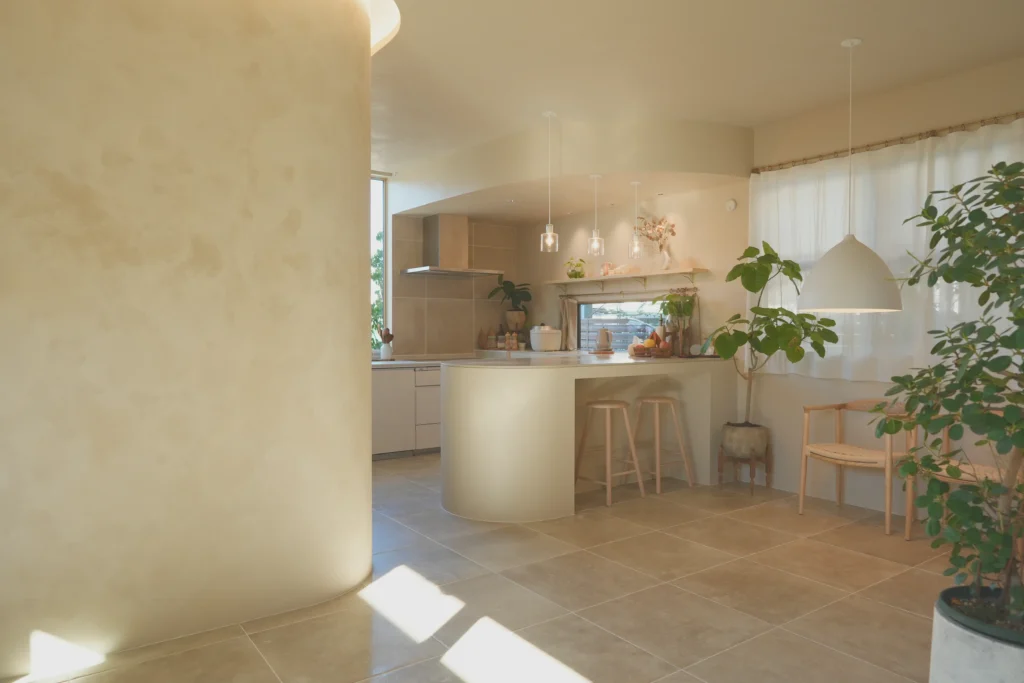
Limewash
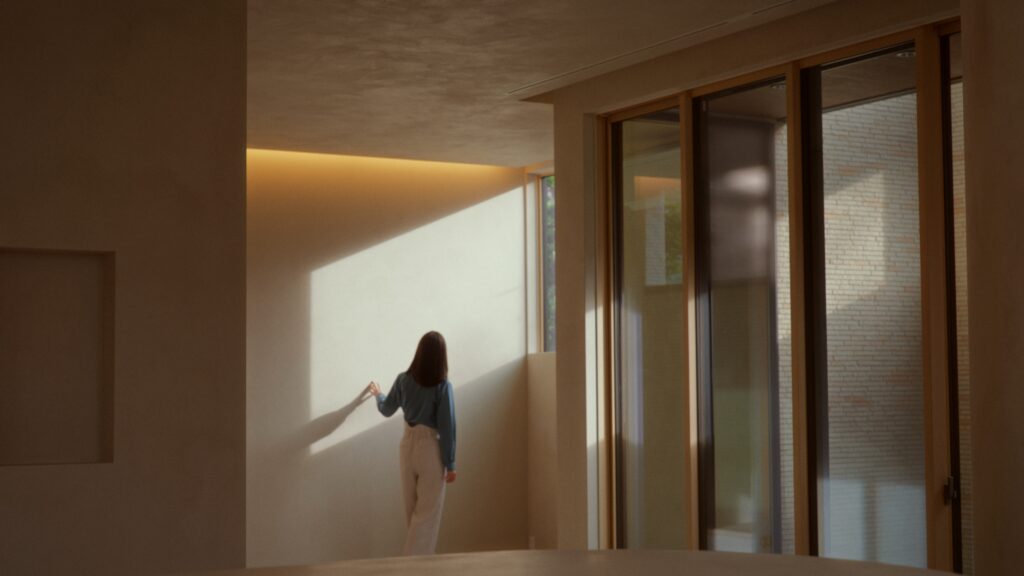
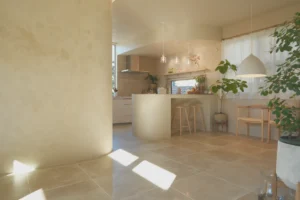
[Where we used it] Curved kitchen wall, around the courtyard, entryway
[Color] NAVAJO (A deep beige)
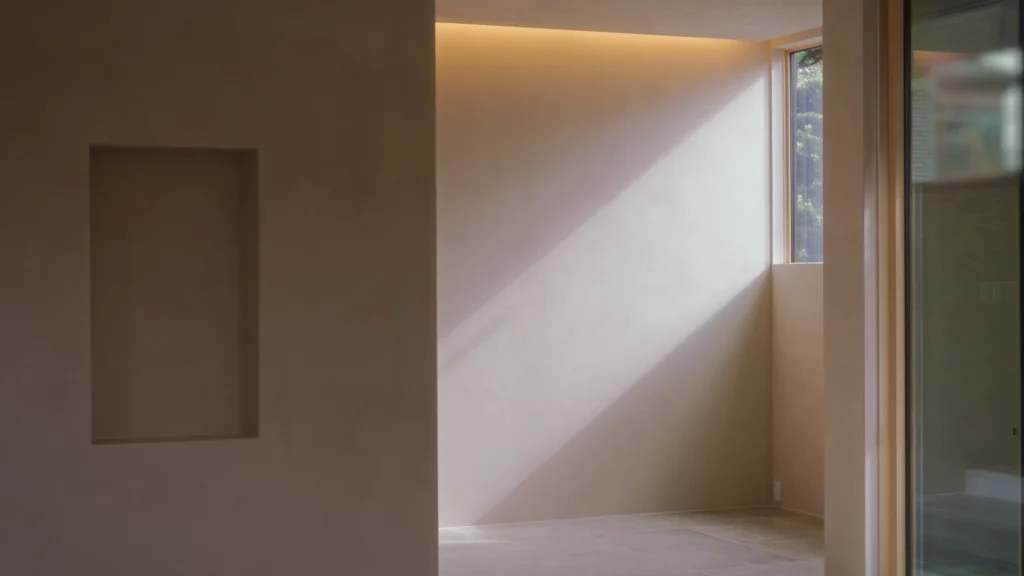
This paint contains lime, which reacts with carbon dioxide and blooms white (efflorescence) to create a distinct, mottled look.
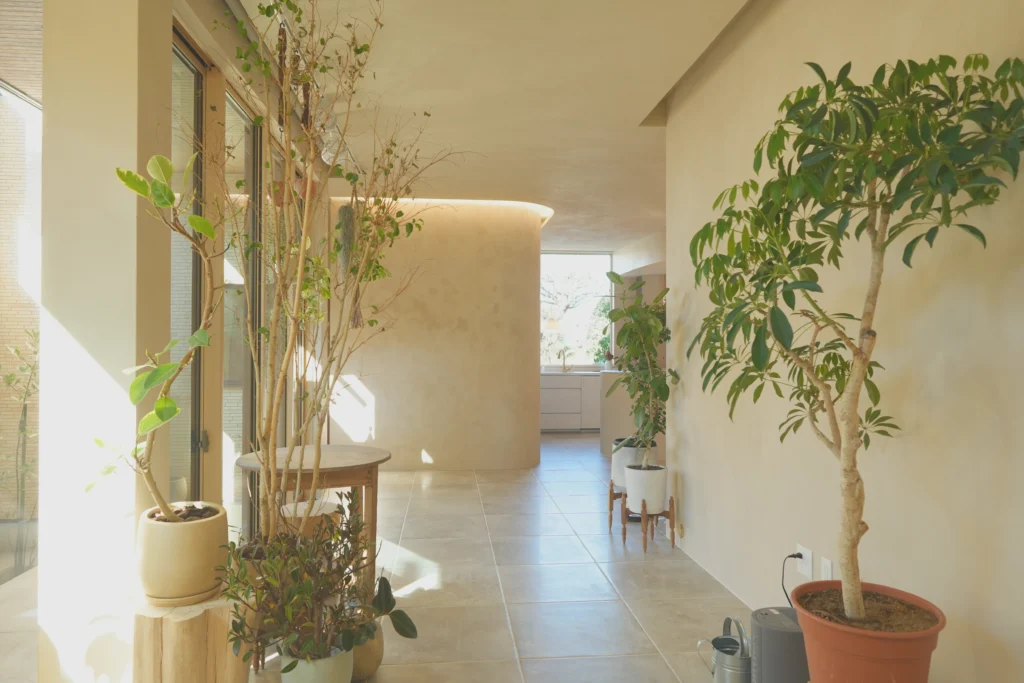
Unlike Stone Paint, you can enjoy its textured appearance even without direct lighting. This was the finish we had dreamed of the most.

Because the blooming effect changes completely depending on the temperature and humidity when applying, controlling the mottled look made this the most difficult paint to work with.
Choosing a color is also tricky. Once it fully dries and the efflorescence takes effect, it ends up being two to three shades lighter than the color on the swatch card.
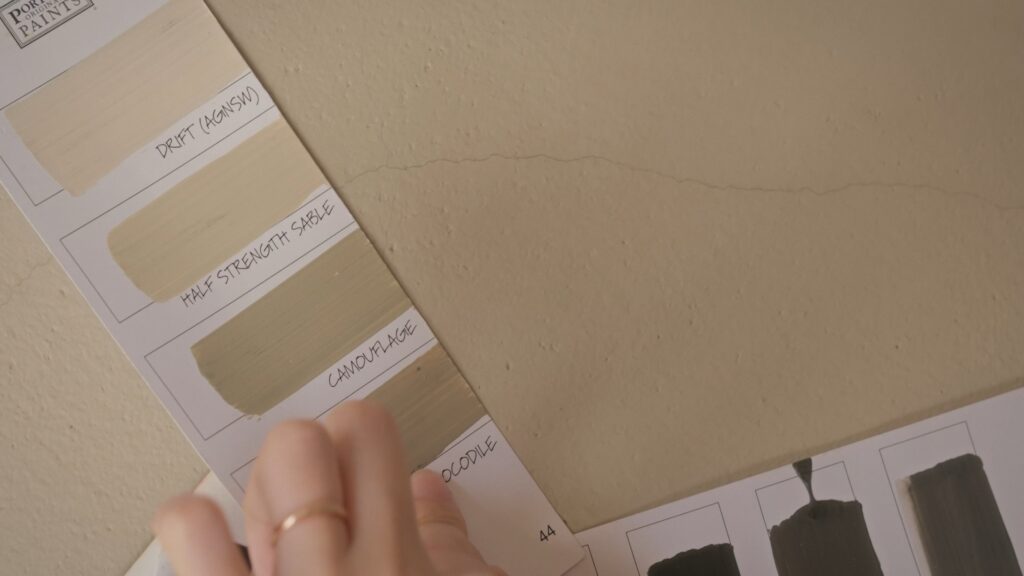
They look like the exact same color, right?!
Since we were using different textures like Stone Paint and Eggshell in the same space, the staff meticulously calculated the color formulations by the numbers. Thanks to them, the colors matched perfectly, and we are so grateful.
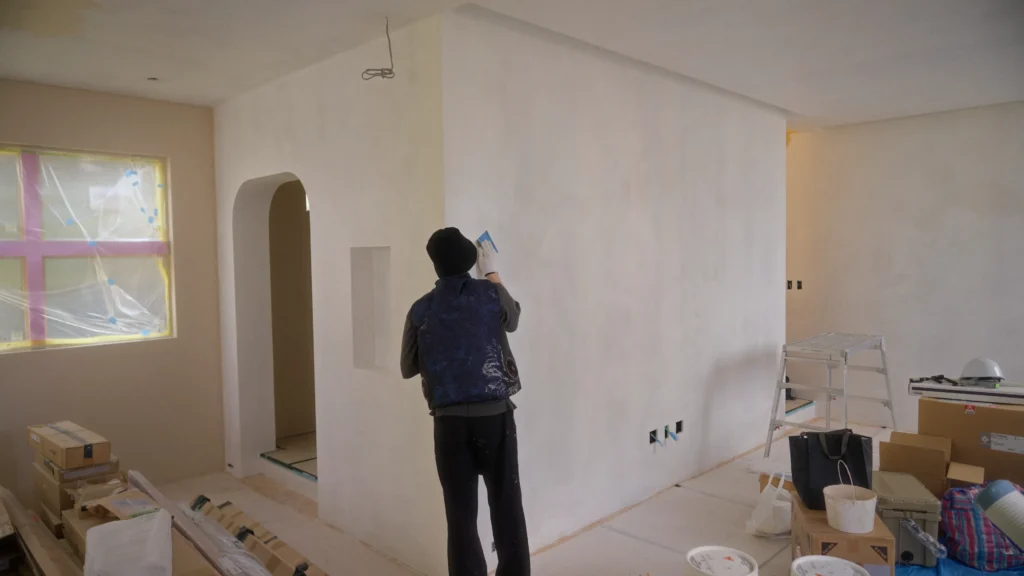
How to Paint & Tips for Success
Painting follows this process: “Masking → Sealer (Primer) → 1st Coat → 2nd Coat.”
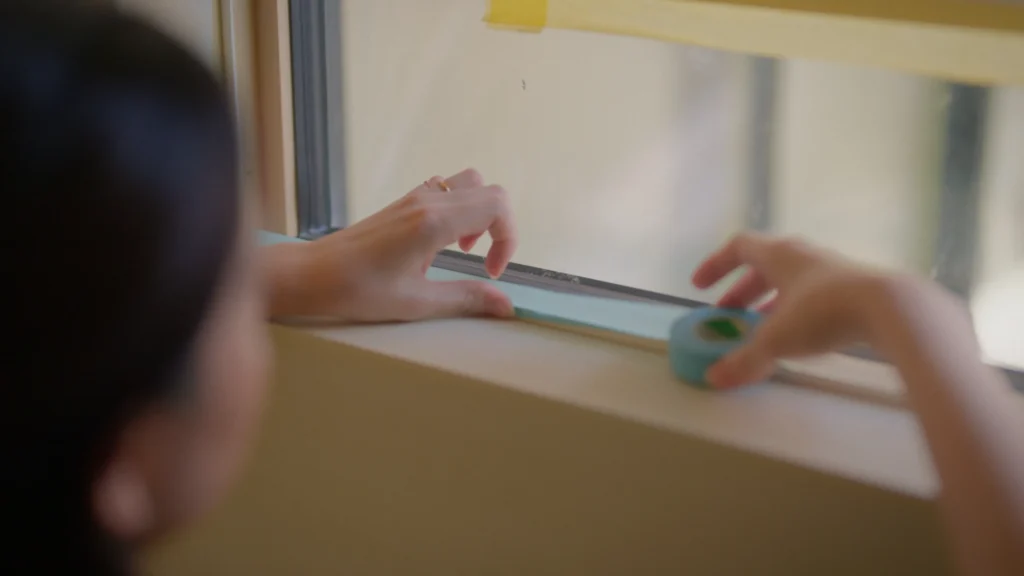
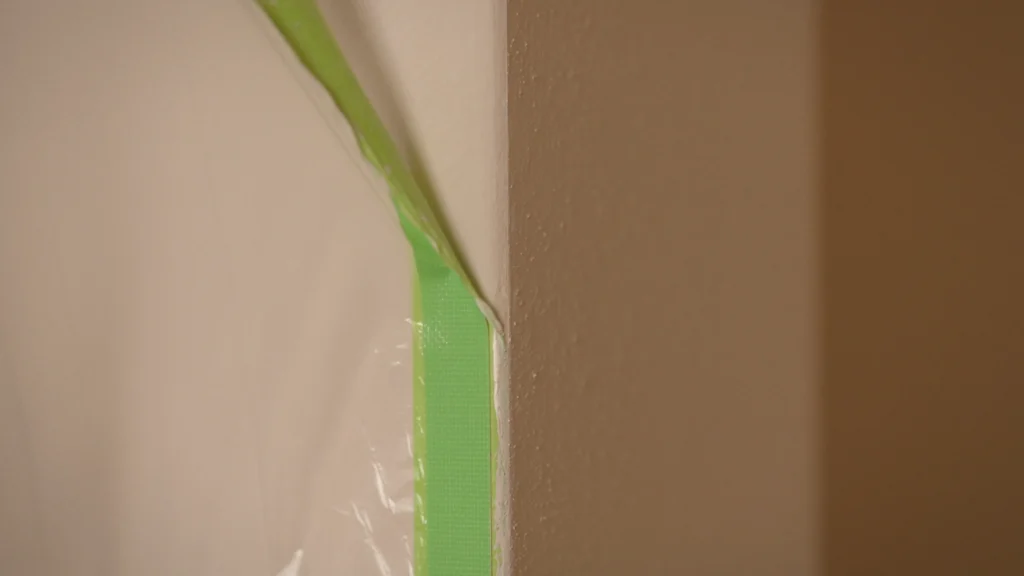
1. Applying Masking Tape
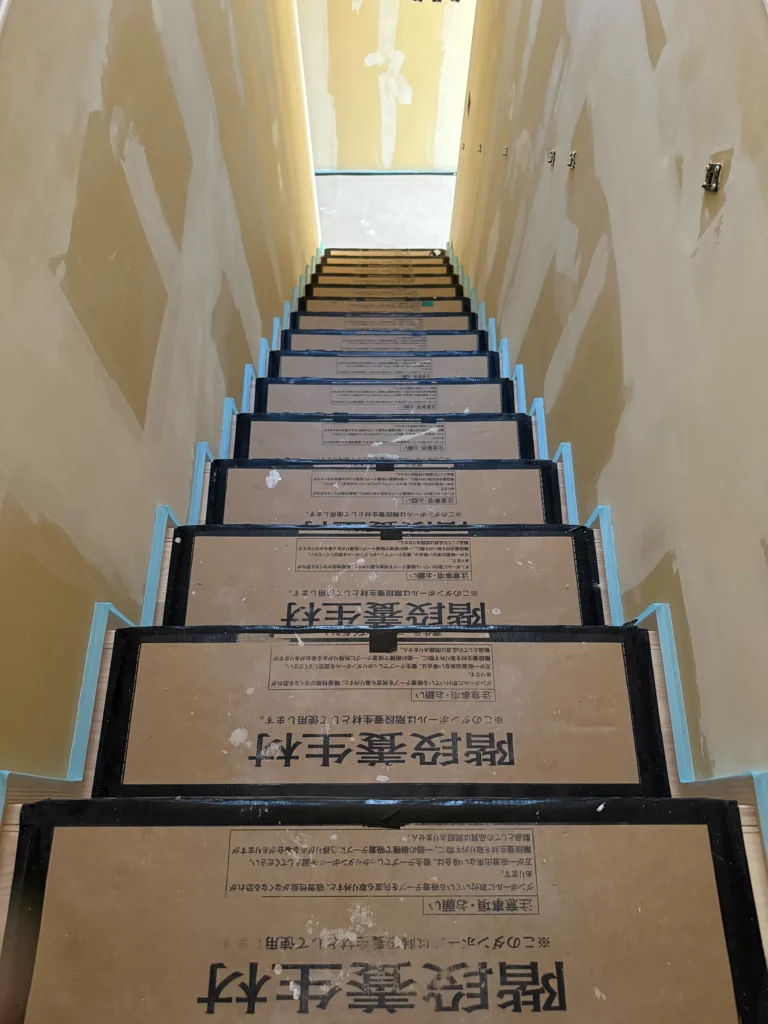
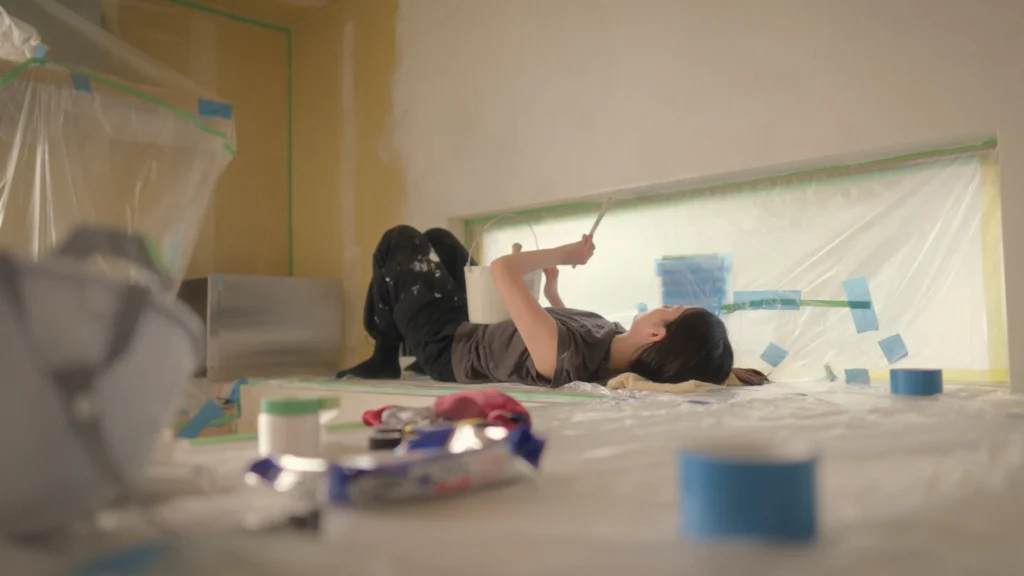
We spent the entire first two days just doing prep work.
Having finished painting the whole house, I can confidently state: “The quality of your prep work determines 90% of the final paint job.”

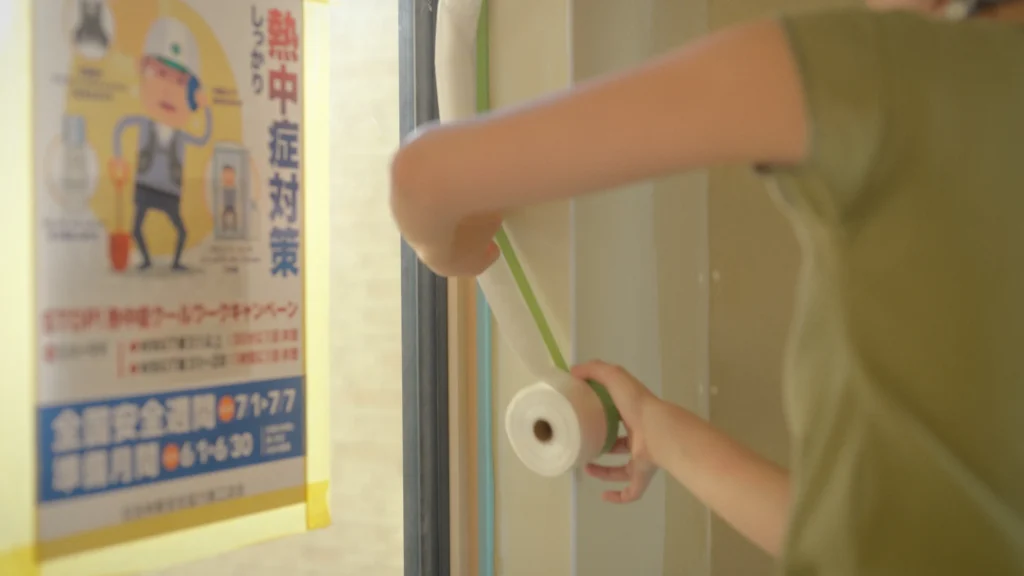
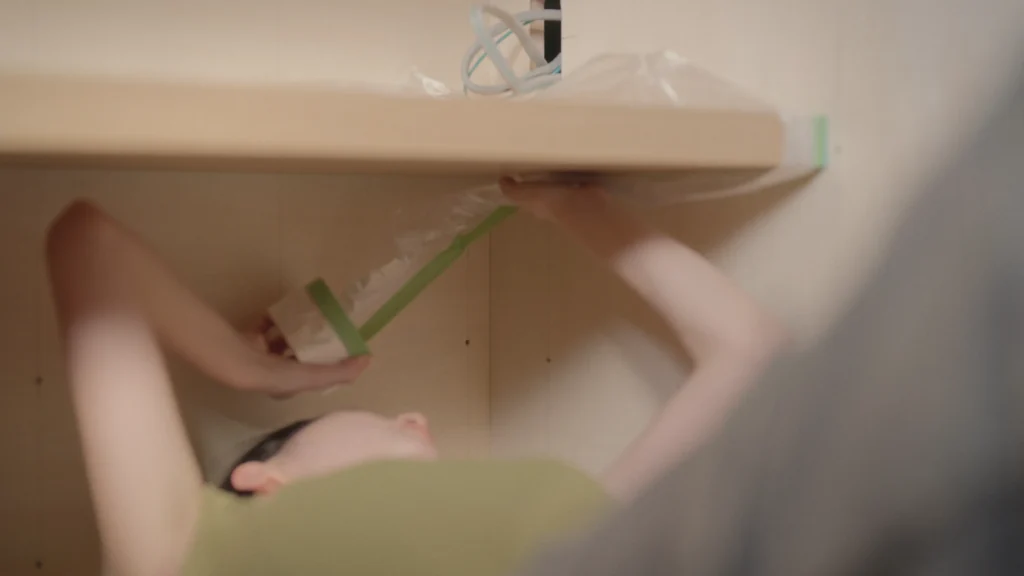
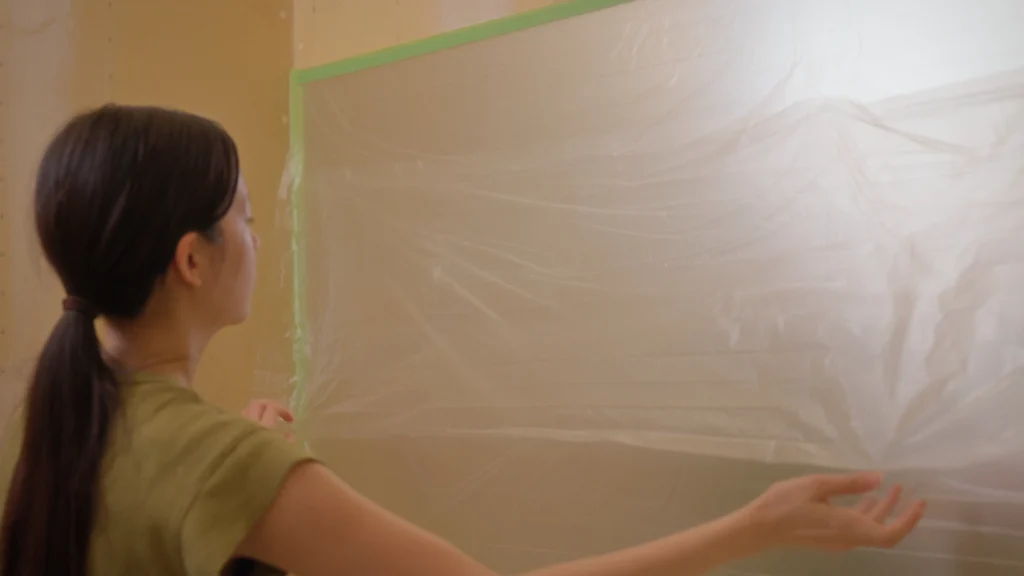
2. Covering with Masker Film
Over the masking tape, we layer masker film to protect everything other than the painted surfaces.
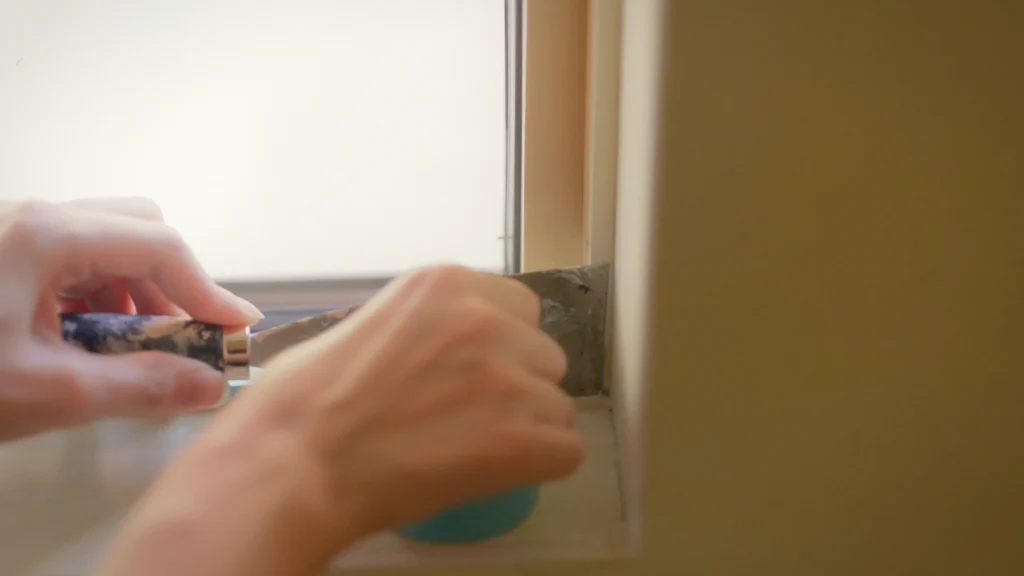
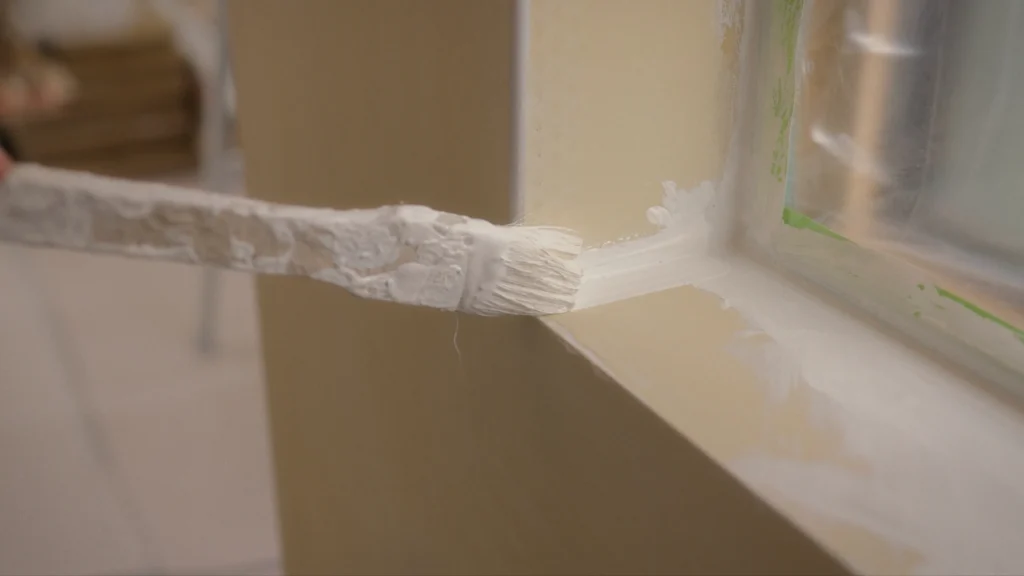
3. Filling Gaps with Caulking
Finally, use your finger to spread a thin layer of caulking into the “1mm gap” between the masking tape and the wall.
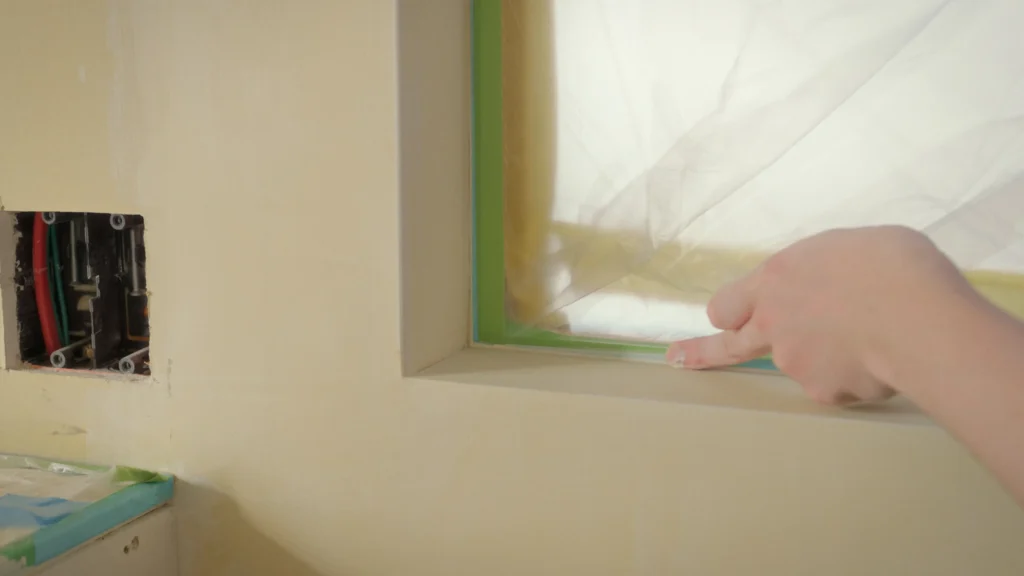
*The key is to apply the caulking thinly! If you apply it too thick, the masking tape will tear and leave a messy edge when you pull it off at the end.
(Even though the real painting hadn’t even started yet… lol)
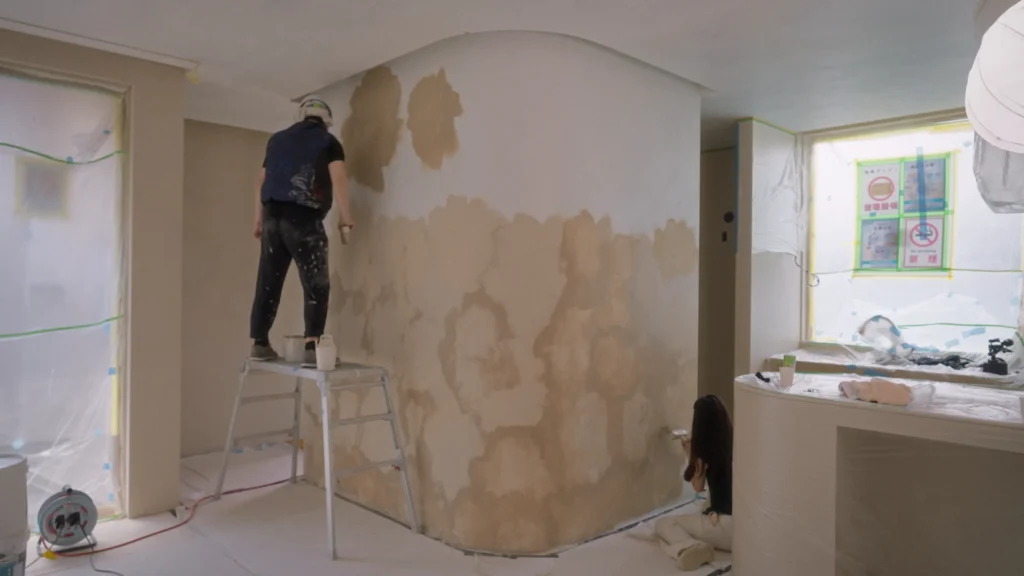
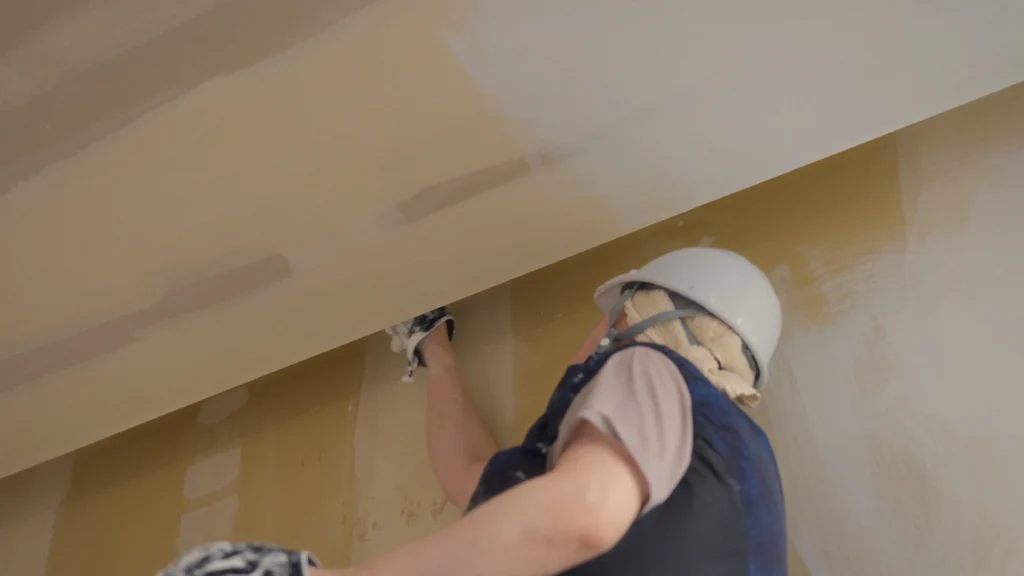
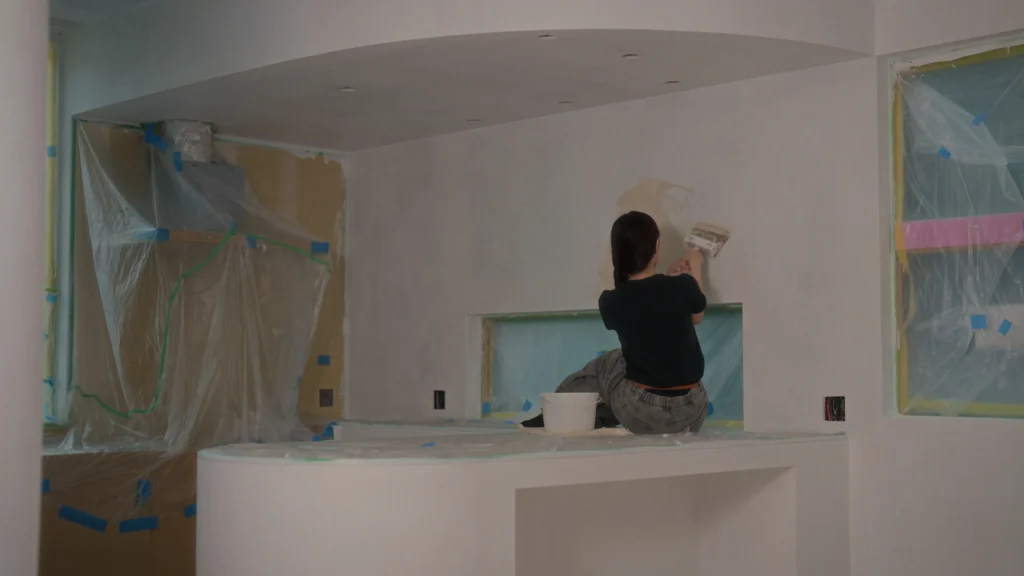
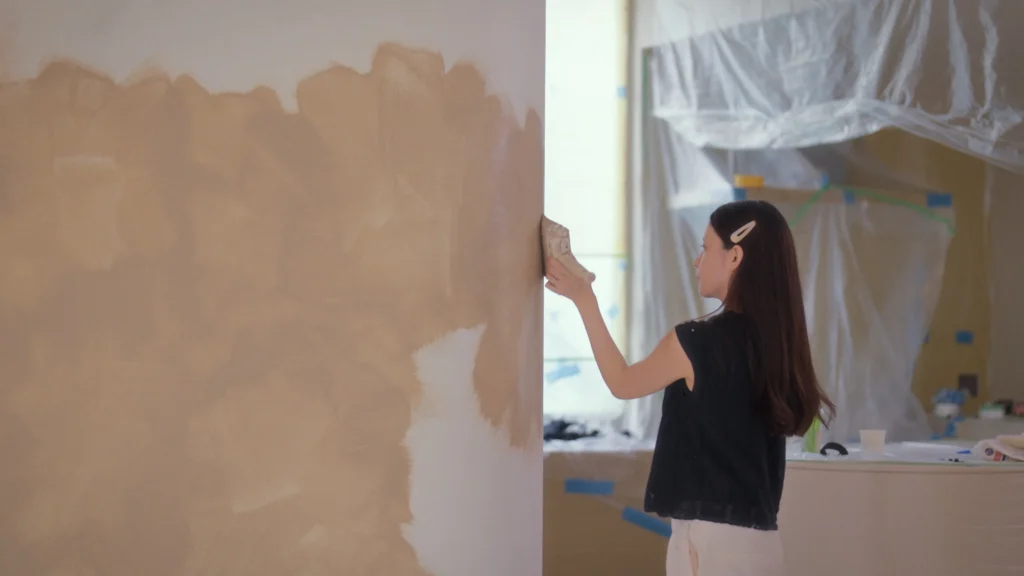
Sealer & Sanding
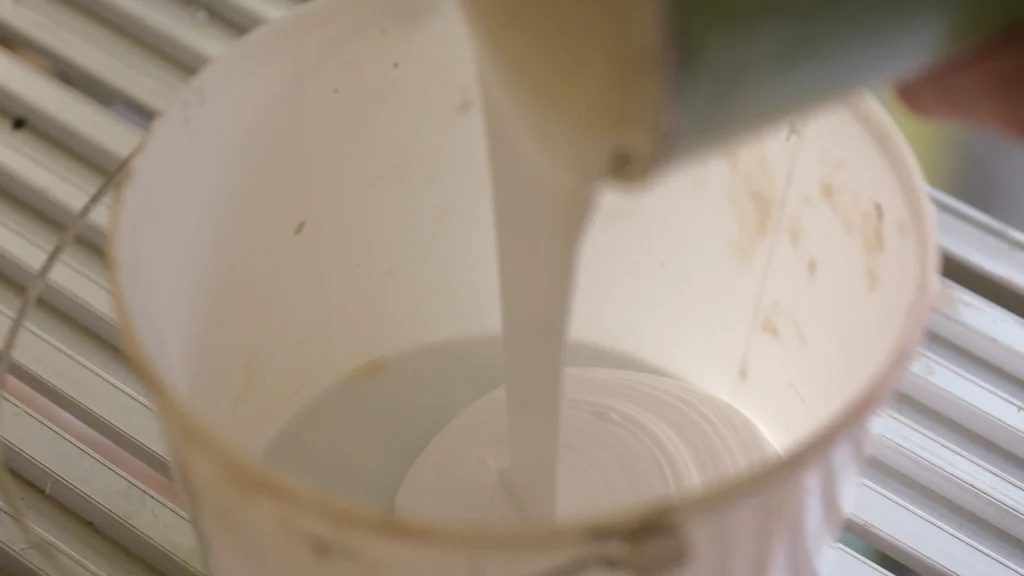

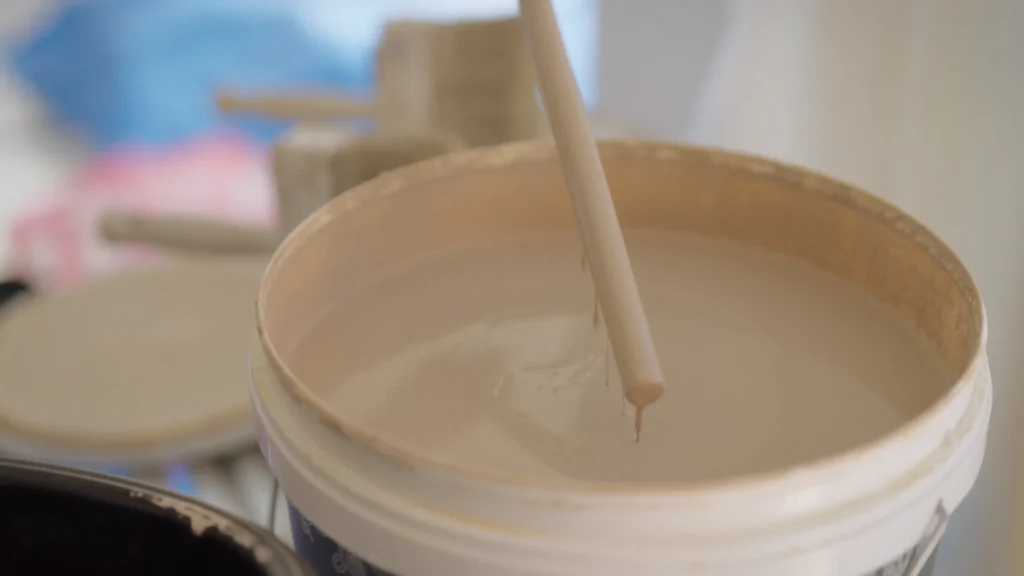
The base sealer has a thick texture that doesn’t spread easily, yet it needs to be applied thinly. You just dab a little on the brush and rub it into the wall.
This required quite a bit of force, so we had to use both hands.
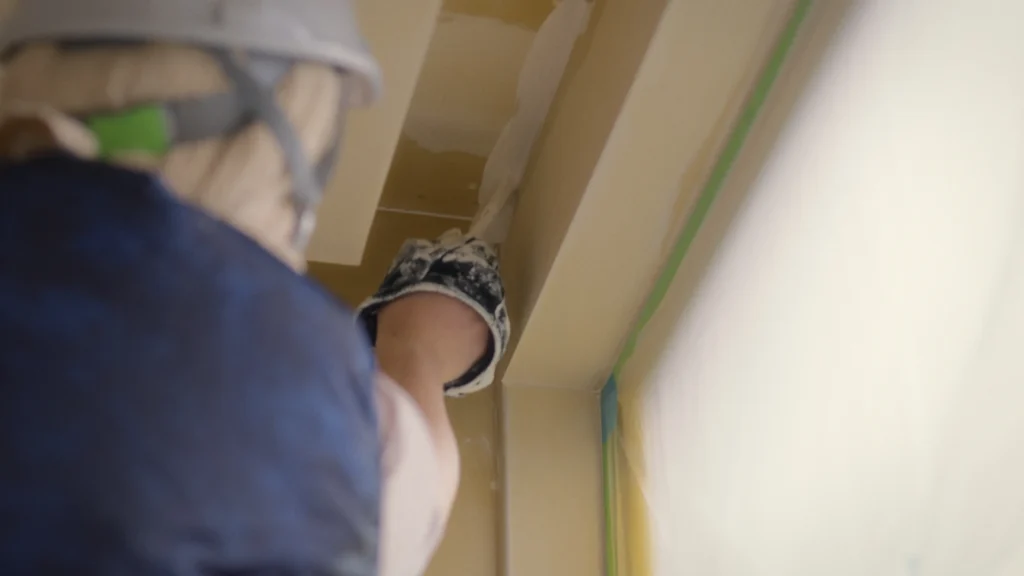
My husband said it was unbelievably difficult. lol
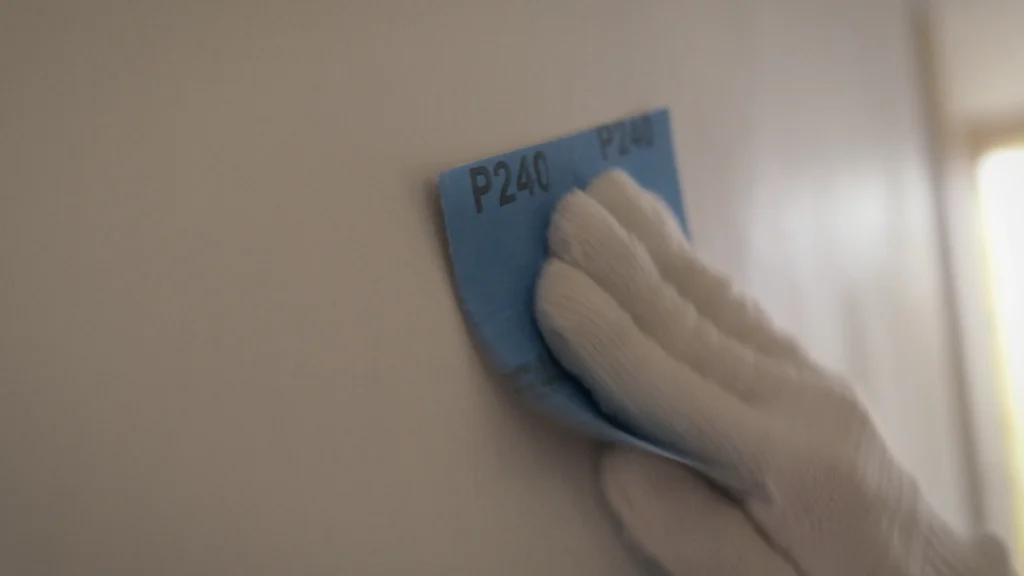
Also, after every coat, we would lightly sand away any hardened dust or bristles with sandpaper.
This extra step drastically changes the smoothness of the final finish.
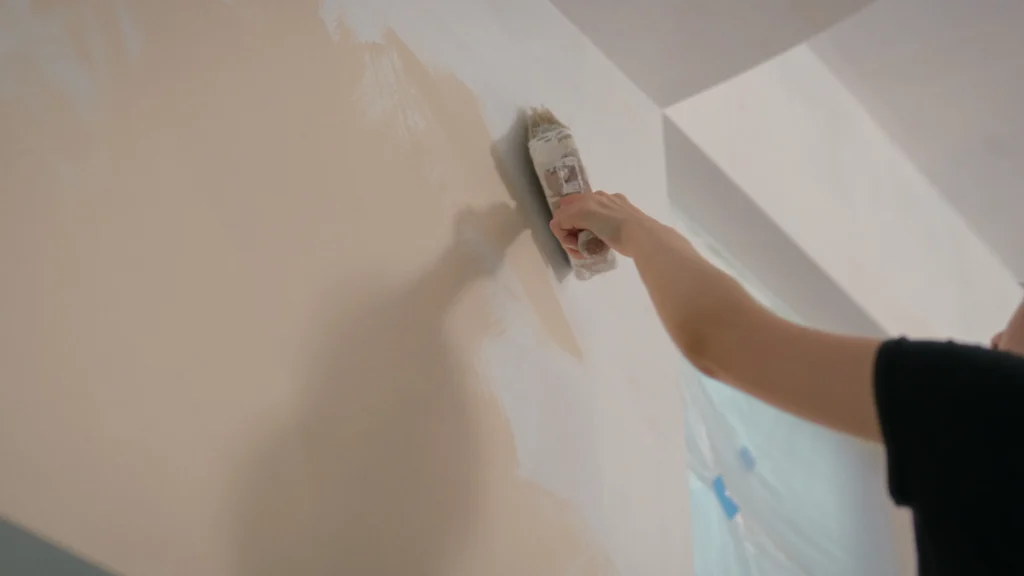
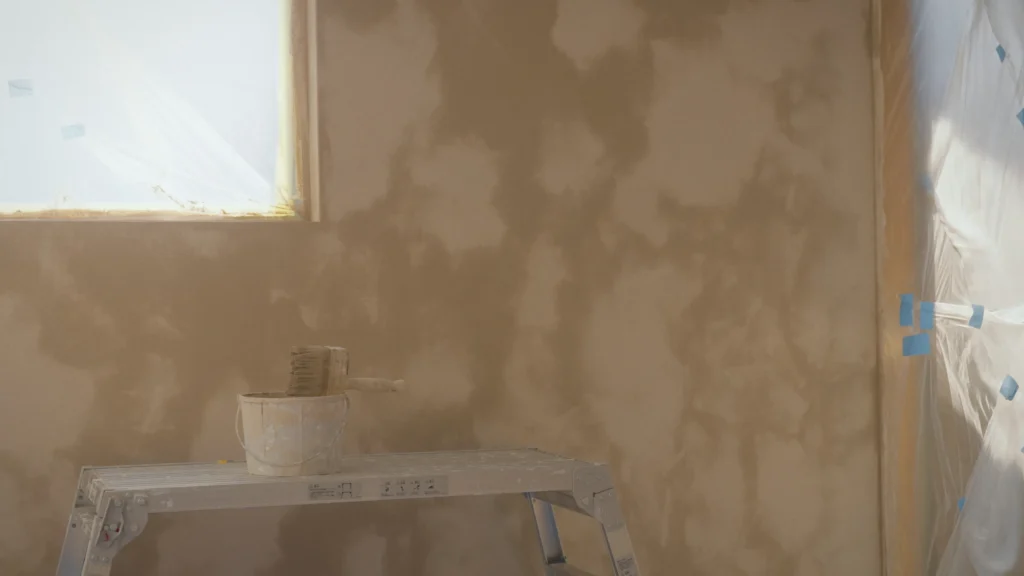
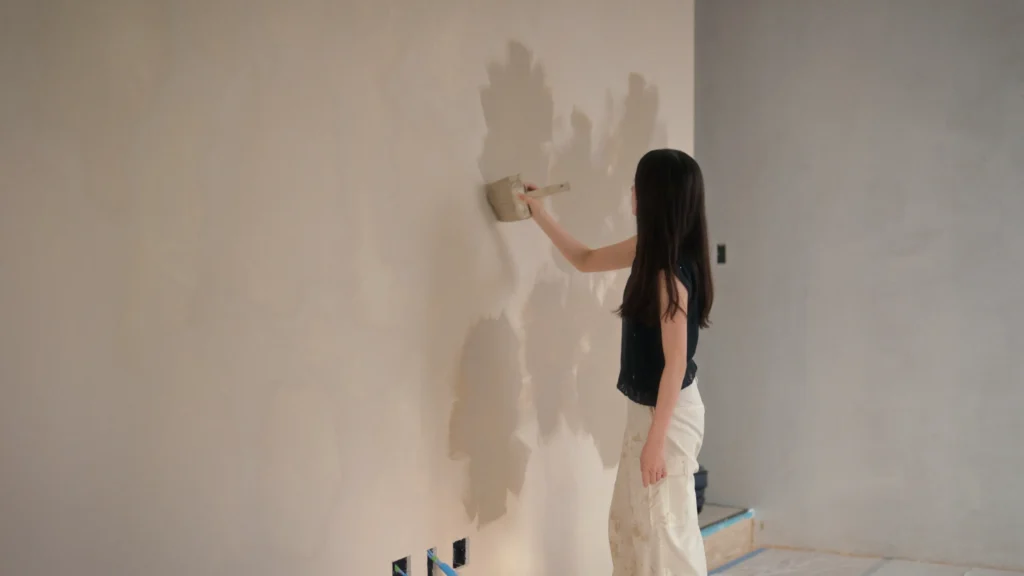
How to Apply Stone Paint
[Drying Time] Surface dry: Approx. 2 to 3 hours
Because the paint itself is heavy, lightly coat the tip of the brush and spread it onto the wall bit by bit.
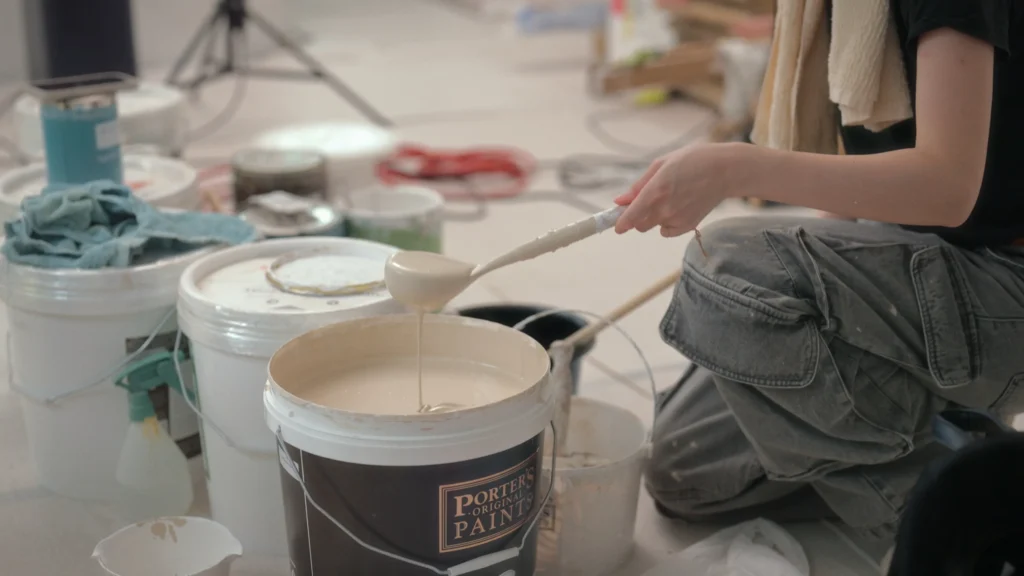
I highly recommend mixing the paint thoroughly so the quartz grains don’t settle at the bottom.
Even if you apply it a bit roughly, the bumpy texture means that minor flaws will disappear once it dries.
I think it looks best when you primarily use crossing motions and constantly change your brush direction to create a random pattern.
If you are using multiple textures in the same space, I highly recommend applying Stone Paint Coarse last.
Because Stone Paint contains coarse quartz grains, painting with it for long periods severely damages the brush.
We painted it last as well, and by the end, our brushes were ragged and completely ruined. It’s best to finish the Eggshell or Limewash first, as those require a clean, smooth brush.
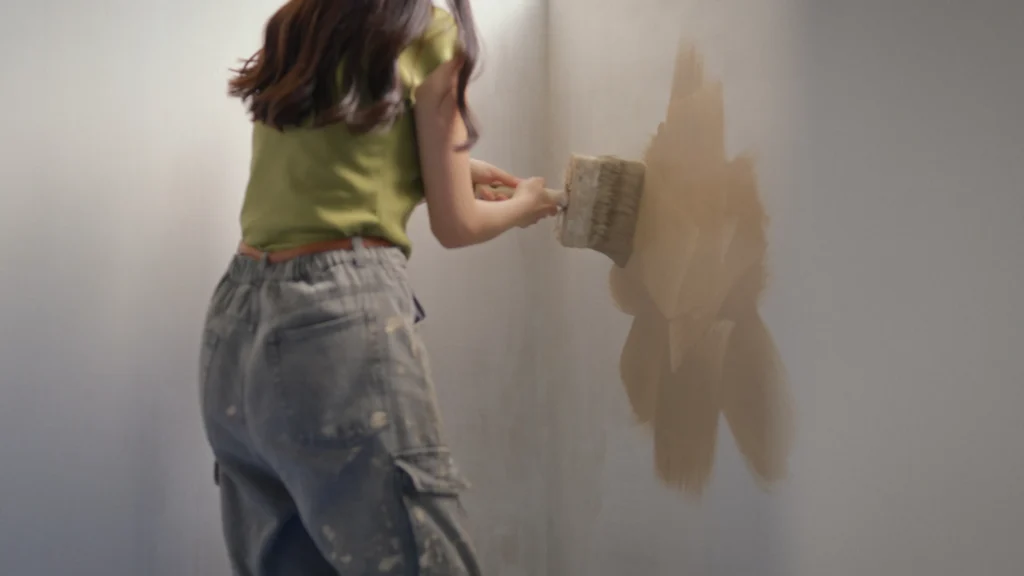
How to Apply Eggshell
[Drying Time] Surface dry: Approx. 2 to 3 hours
It’s smooth and spreads well, so the actual painting goes very quickly.
However, because it dries to a smooth, flat finish, brush marks are easily left behind. The trick is to gently glide the brush in a consistent direction (vertical or horizontal) to smooth it out.
Also, since it picks up base layer unevenness and dust the most, sanding after the sealer and removing dust during painting is the key to a beautiful finish.
The brush motion is similar to Stone Paint Coarse, but since it’s a flat paint, we were very careful to deliberately create elegant brushstrokes.
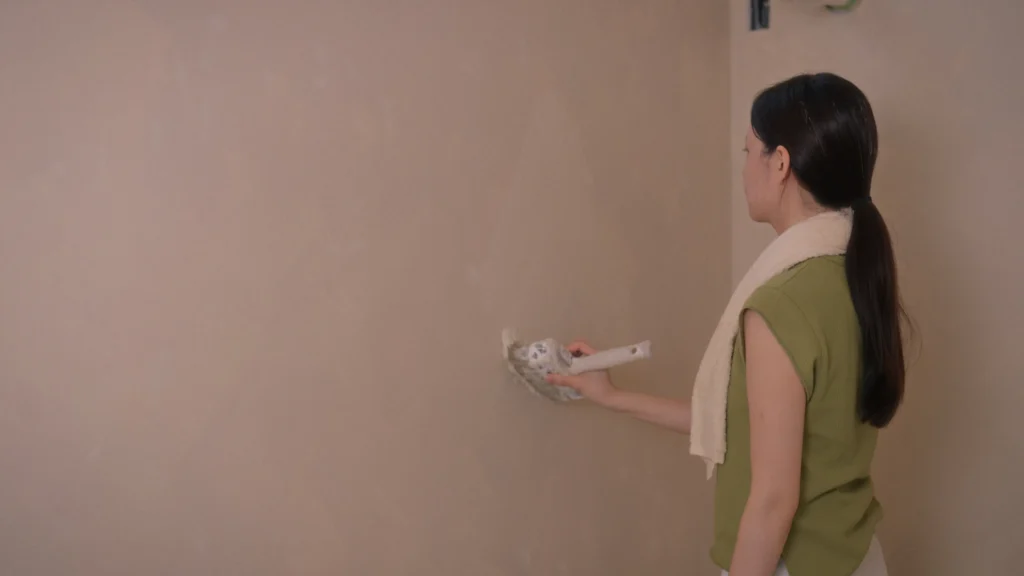
How to Apply Limewash
[Drying Time] Fully dry: Half a day to 1 day
Because the paint is thin and watery, you have to be very careful of drips.
Put just a little paint on the tip of the brush, create a few blocks on the wall as if painting clouds, and then connect them together to create that beautifully unique, mottled look.
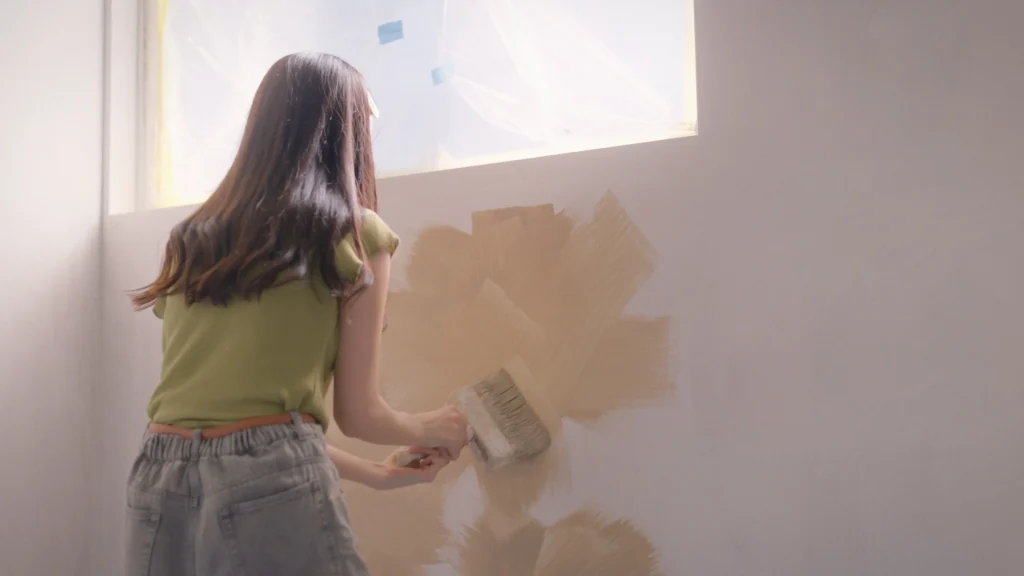
I feel like keeping the clouds slightly smaller produces a prettier mottling effect!
If it drips, don’t leave it as is, or it will bloom white exactly in the shape of the drip. It’s crucial to immediately blend it into the surrounding area.
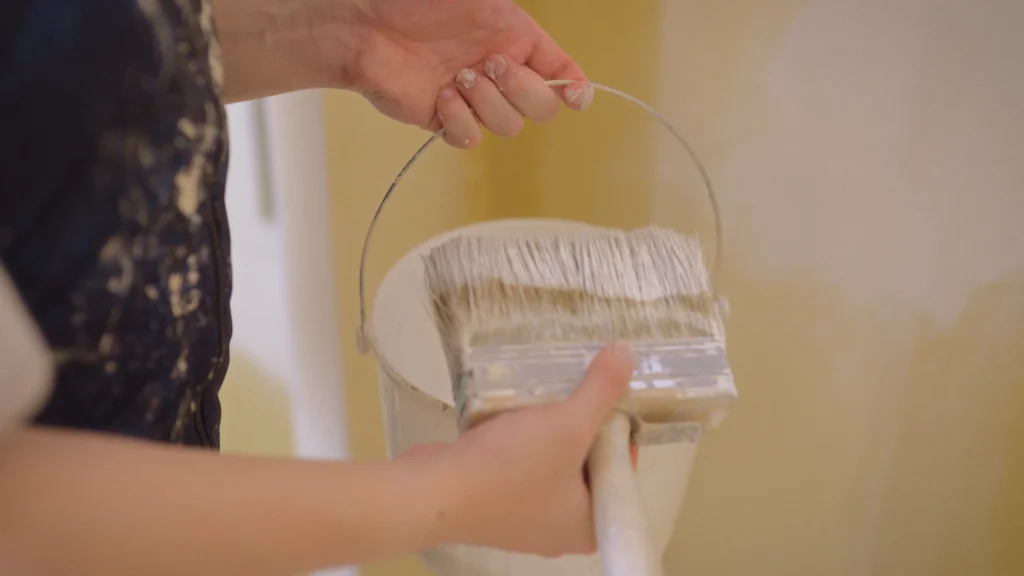
Brush Maintenance
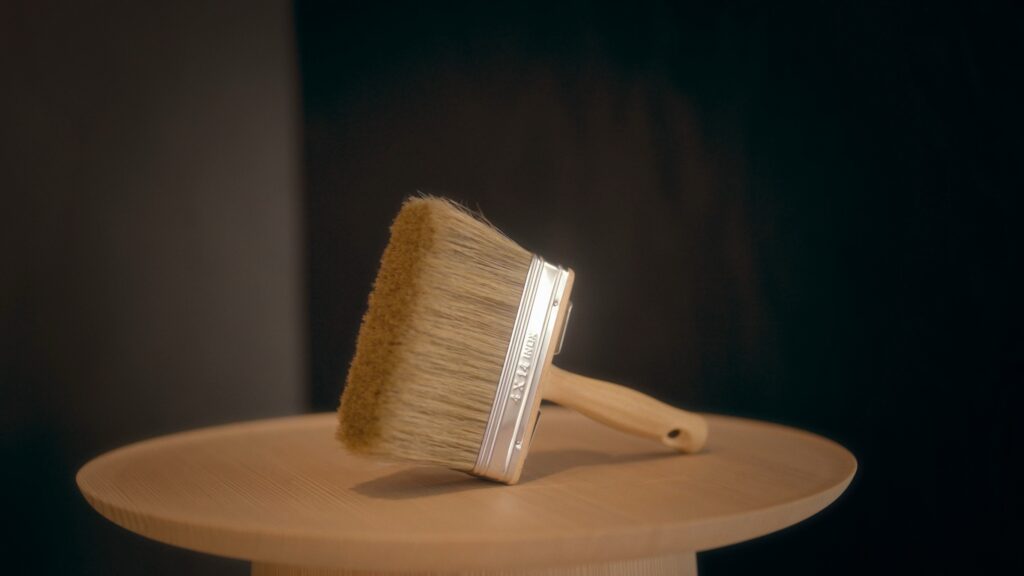
After a few days of use, the weight of the paint will cause stray bristles to stick out.
When that happens, just boldly pluck the hardened bristles from the root, or trim them with scissors.
Also, scrubbing the base of the bristles with a metal scouring pad at the end of each day removes accumulated clumps of paint, helping the brush last longer.
The Secret to Touch-Ups
Of everything we painted, Limewash was by far the biggest struggle.
The surfaces we painted during the dry daytime hours developed a nice mottled look. But the curved wall we painted at night when it was humid took too long to dry, preventing proper efflorescence and resulting in extremely heavy, contrasting blotches.
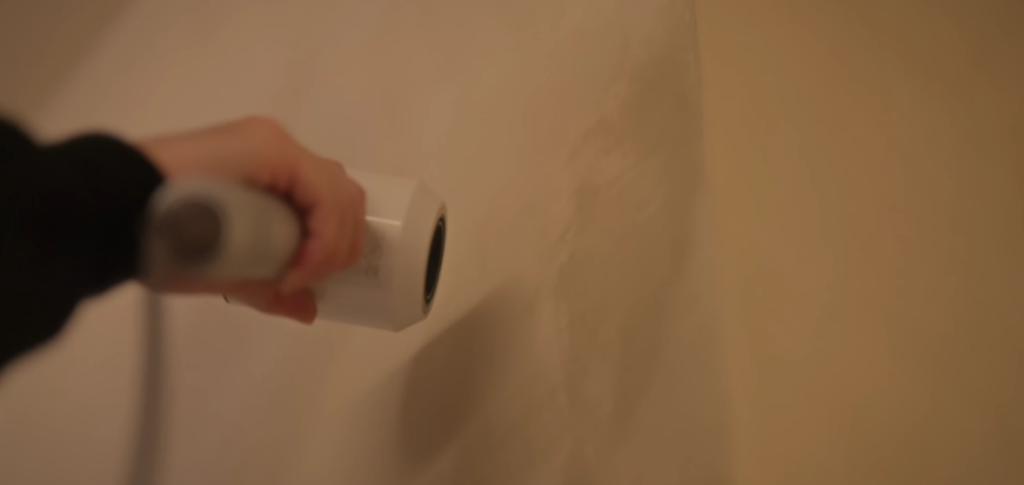
Limewash is notoriously difficult to touch up, but here is “our household’s recovery method”—which we even reported back to the store staff!
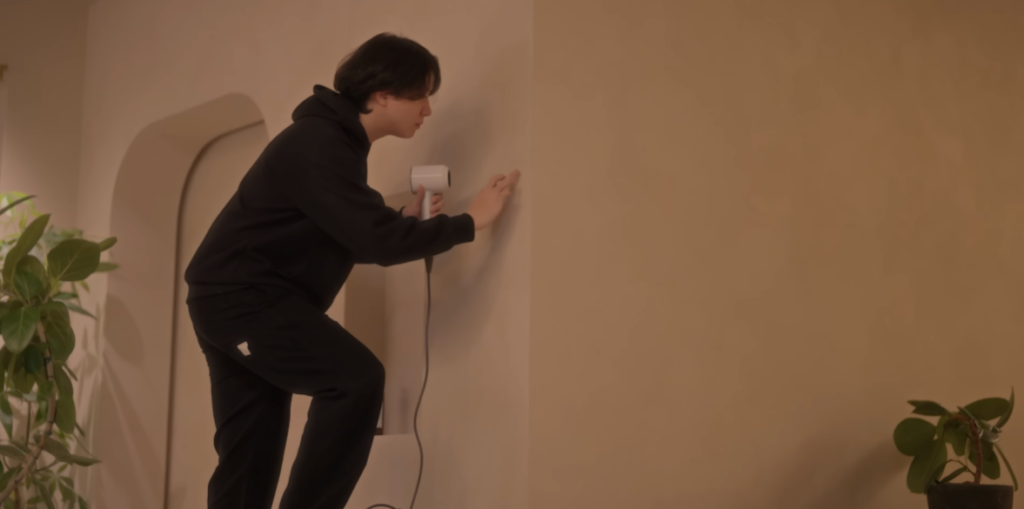
① Apply Limewash to the area, then immediately and gently blur the edges using a clean brush slightly dampened with a spray bottle.
② Immediately blast it with a hair dryer (max heat and airflow) to force it to bloom.
③ Repeat a few times until you achieve a mottling you like.
Air drying and circulator fans didn’t work for us, but by controlling the drying time with a hair dryer, we were able to blend it relatively naturally into the surrounding area. (*Please note, do this at your own risk!)
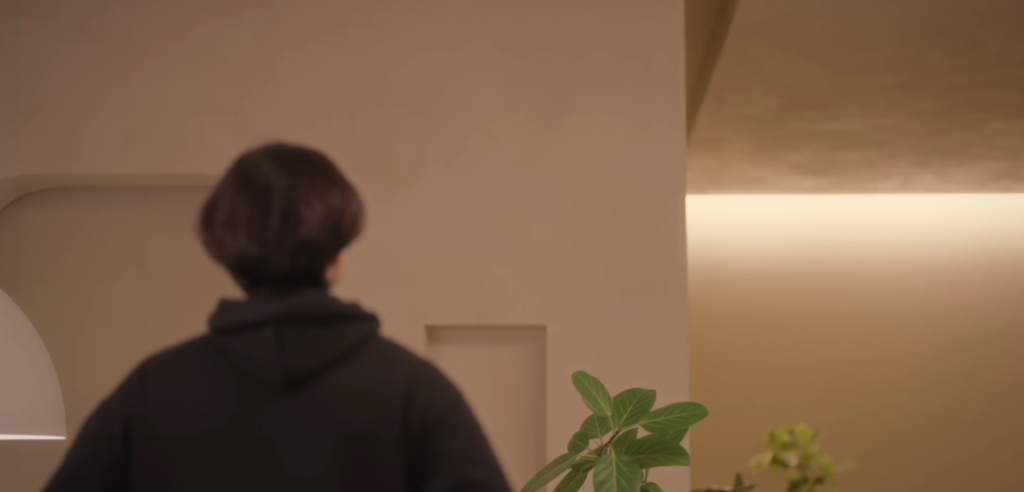
Working in the middle of summer was physically exhausting, but seeing the walls gradually take on color and watching our ideal space come to life gave us a profound sense of accomplishment.
Because we painted it ourselves, every section holds a memory, making even the minor imperfections and scratches on the walls feel endearing.
Self-painting with Porter’s Paints turned our home-building journey into a wonderful, hands-on experience.
I hope this serves as a helpful reference for anyone considering plastered walls.
\ Click here for why we chose it and the essential tools /
Thank you so much for reading to the end.


Comments