*This post contains affiliate links.
Hi everyone, it’s Twilife.
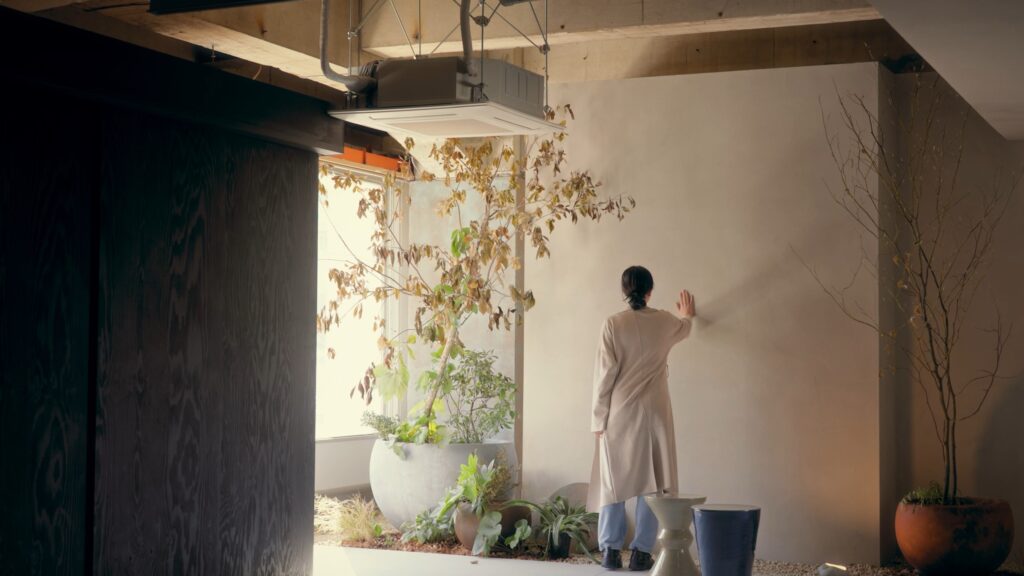
Of all the projects during our home build, one of the most exhausting—yet incredibly rewarding—was “DIY painting our walls and ceilings using Porter’s Paints.”
Right before our scheduled handover, we hit an unexpected snag: the floor tiles we ordered from Italy were delayed, pushing back our move-in date by two weeks.
However, this created a miraculous situation where the builder allowed us “onto the site before the official handover so we could paint freely!”
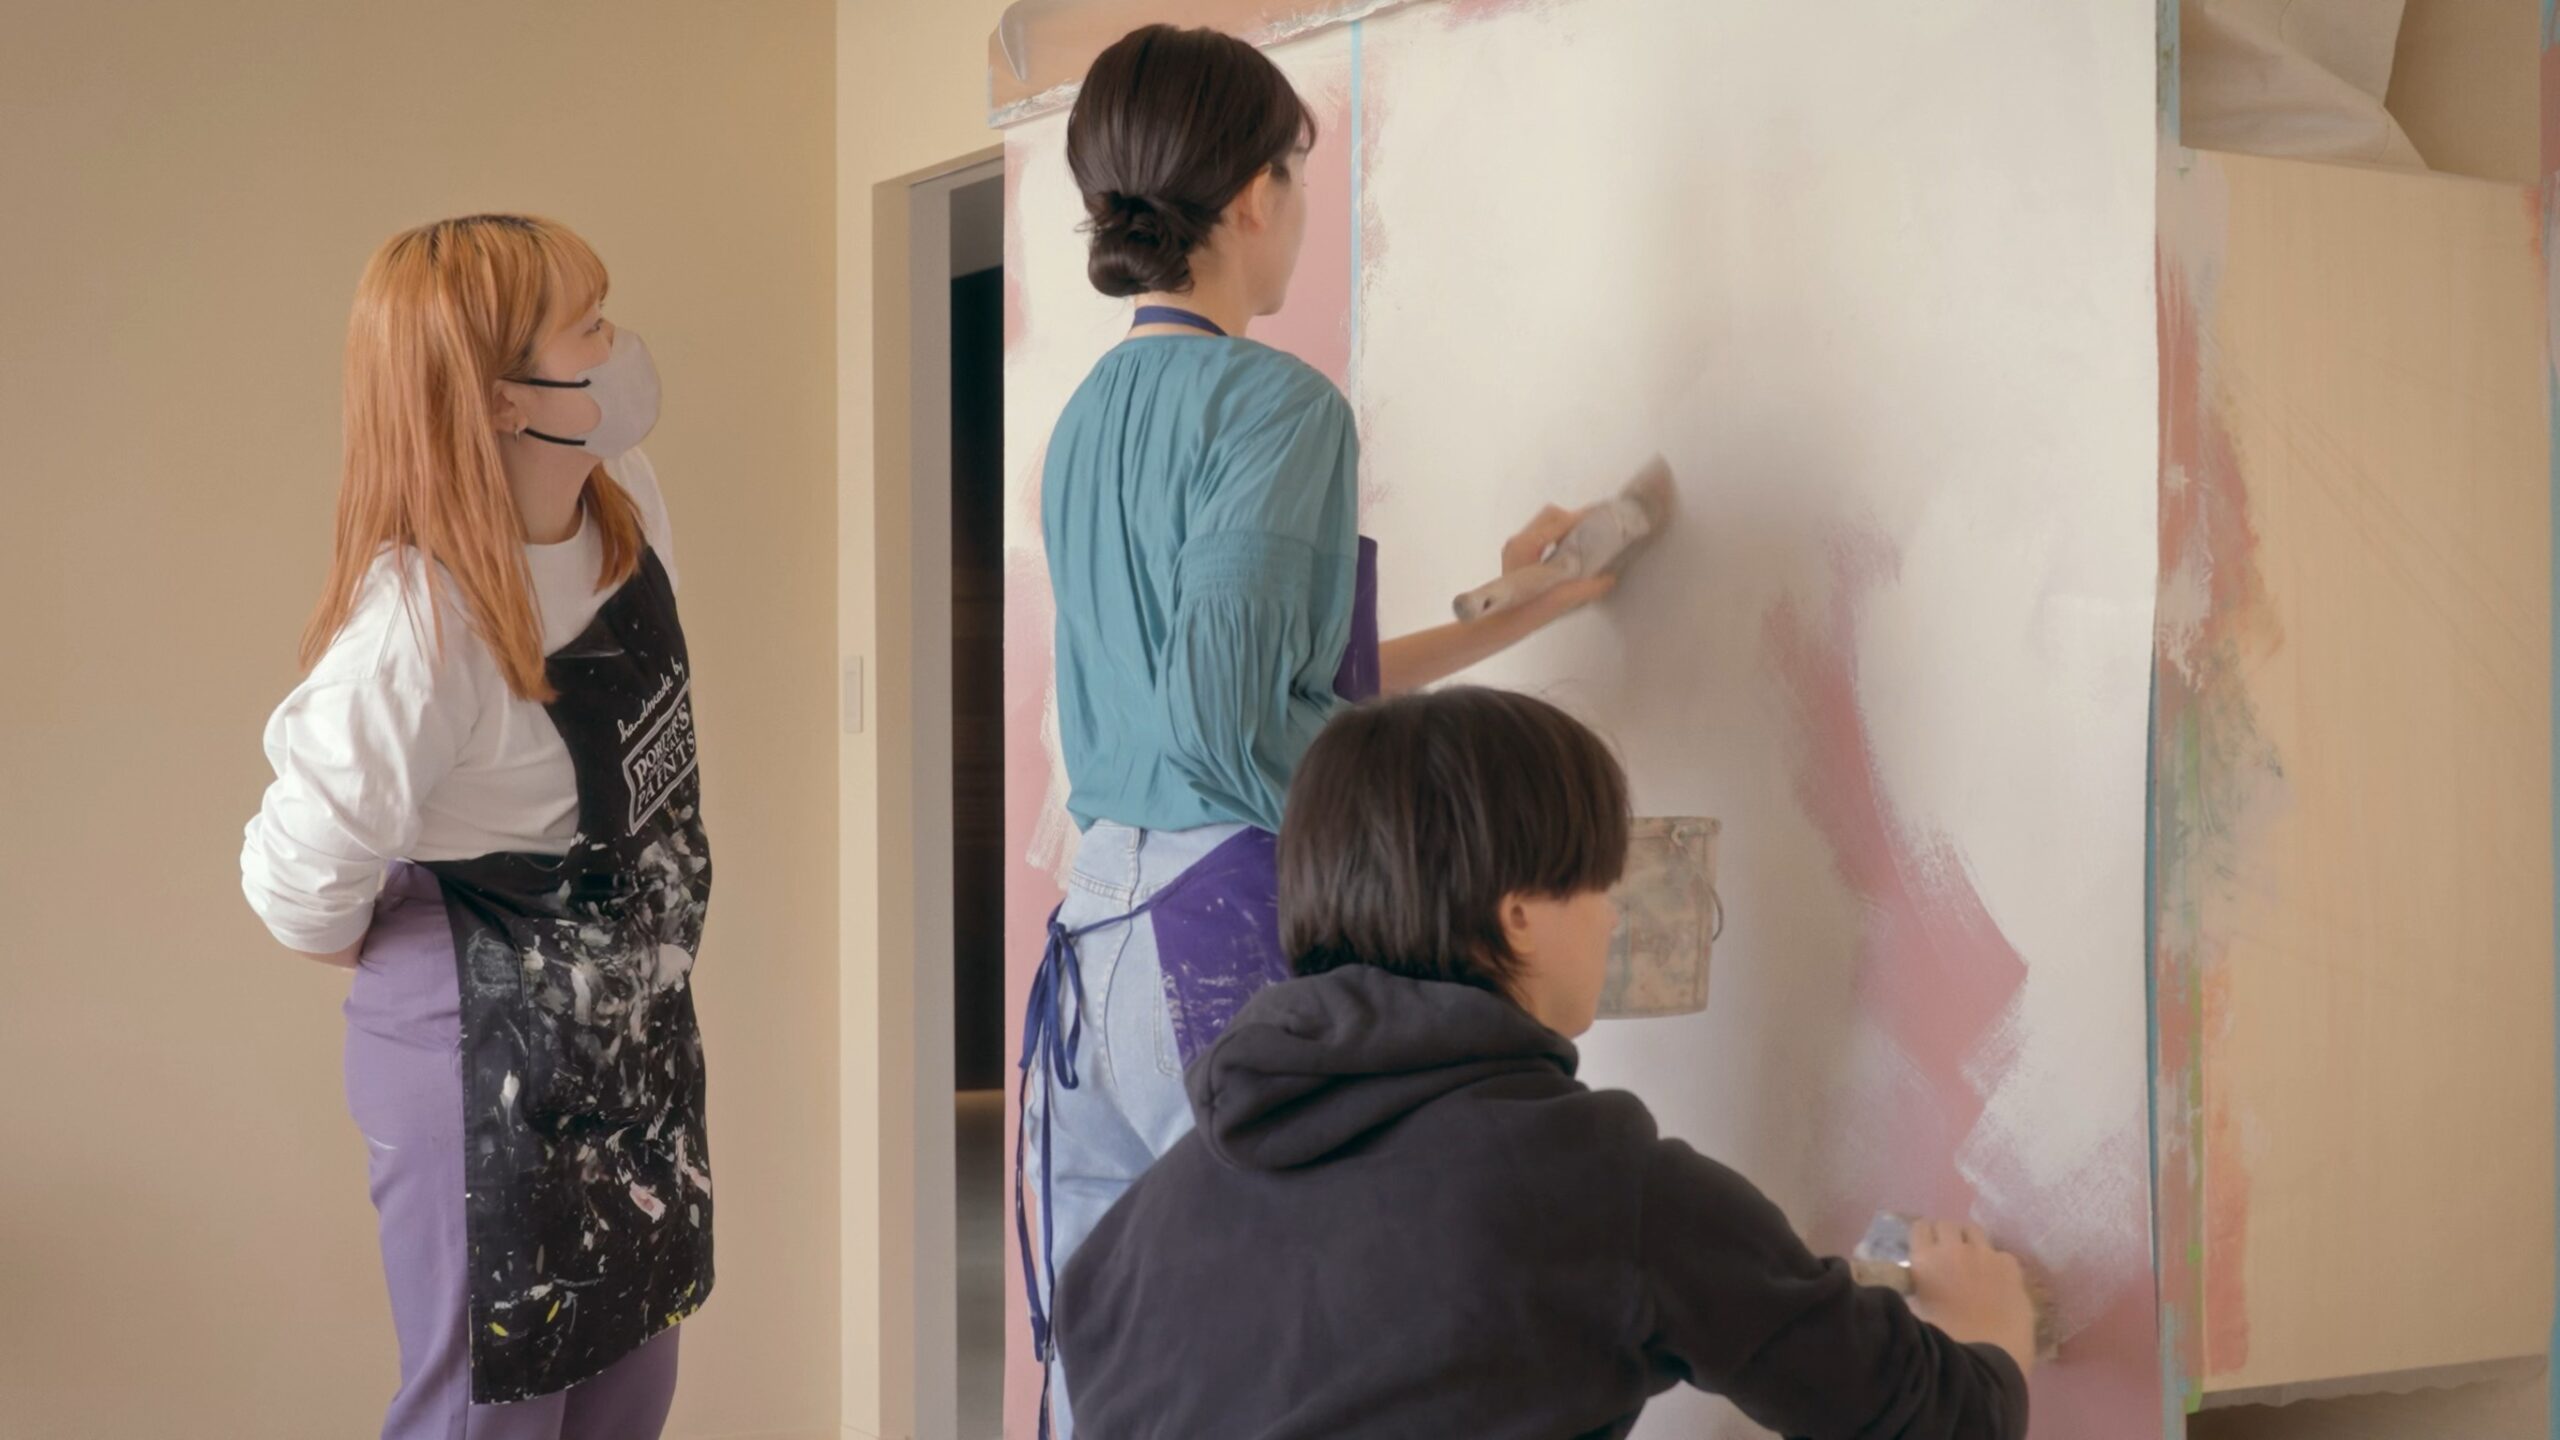
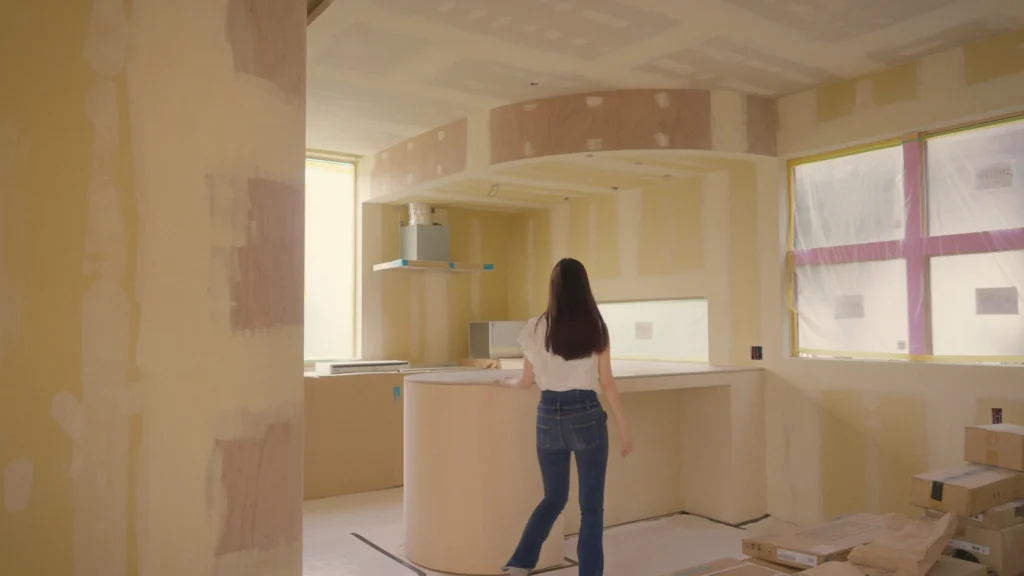
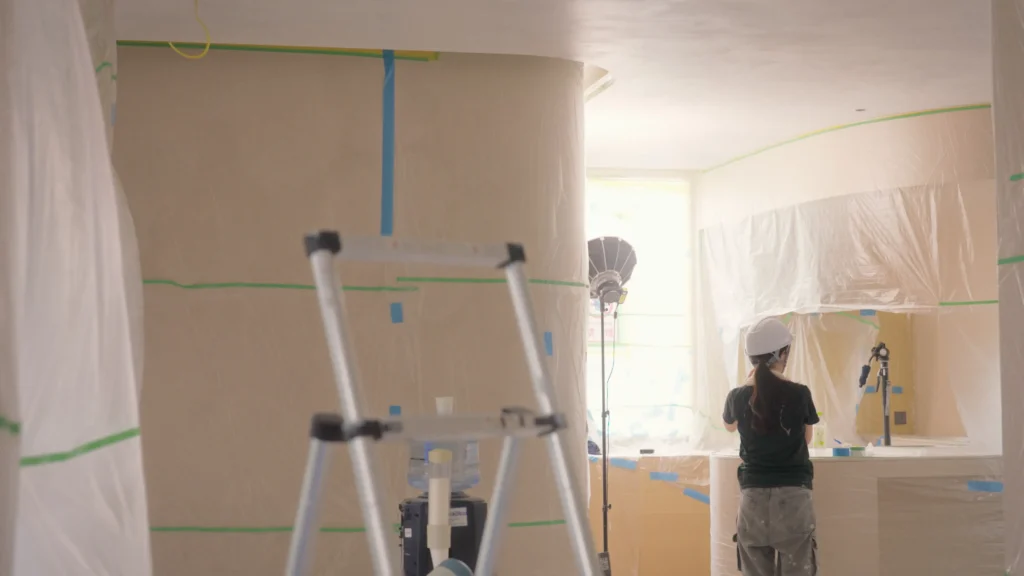
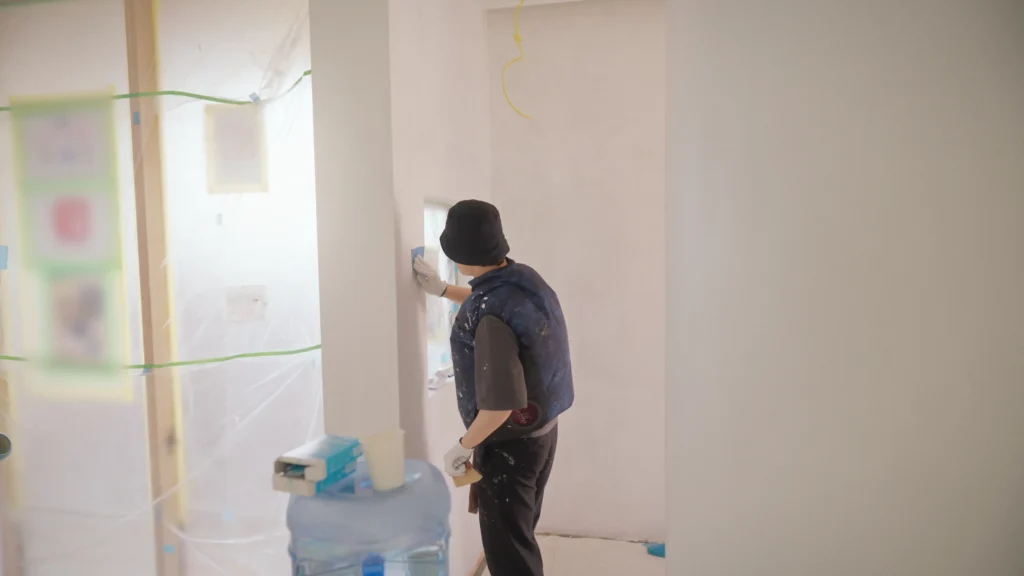
We also got incredibly lucky because we didn’t have to do the most tedious part—protecting the finished floors! Taking advantage of a miraculously timed 12-day vacation, just the two of us managed to paint a massive area of about 350 square meters (approx. 3,700 sq. ft.).
In this Part 1, I’ll share why we chose Porter’s Paints, the purchasing process, and the essential DIY tools that actually saved us during the project.
Why We Chose Porter’s Paints
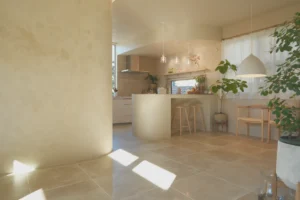
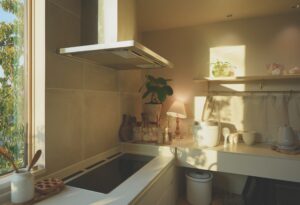
From the very beginning of our home-building journey, we dreamed of a “Southern European-style interior” like an overseas villa.
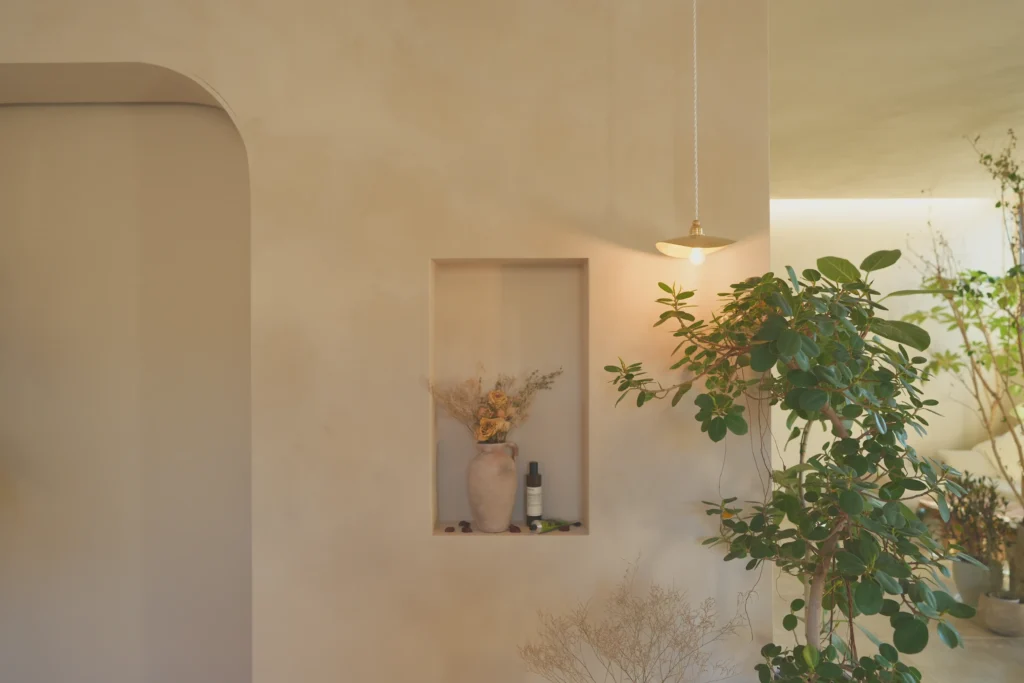
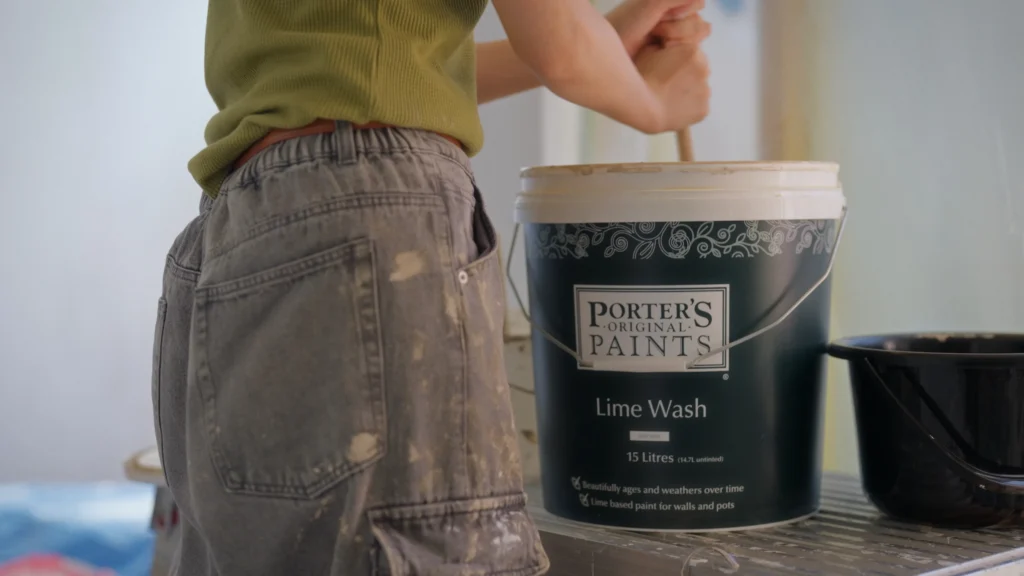
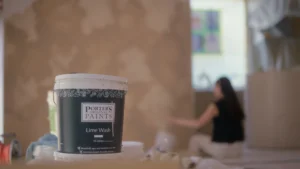
That’s when we discovered “Limewash,” a lime-based paint that creates a beautifully unique, mottled texture.
Reliable Domestic Support System
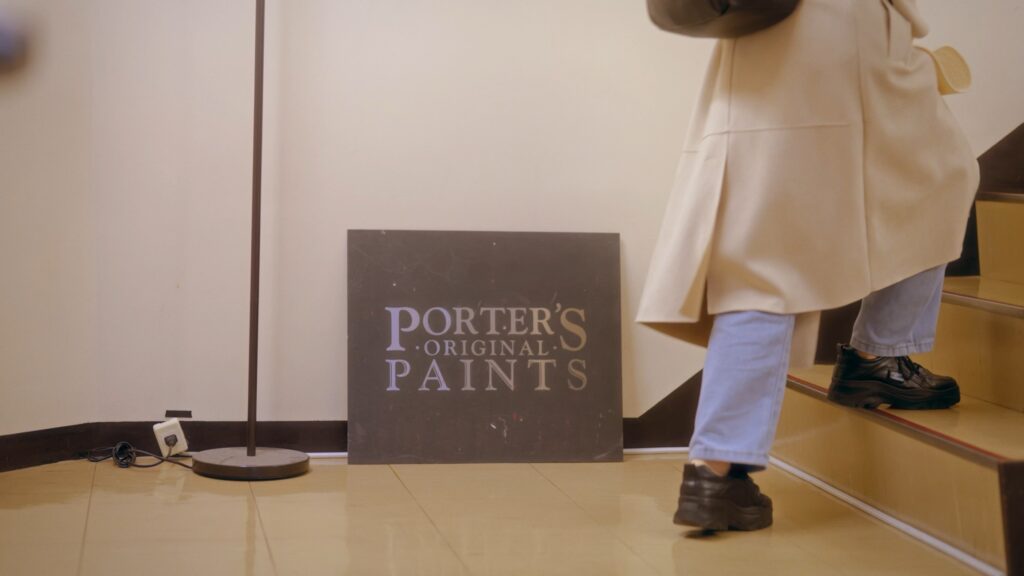
When I first researched Limewash, I was a bit worried because many options had to be imported. But then I found out that NENGO Co., Ltd. handles Porter’s Paints as their general distributor in Japan.
Having a solid domestic base and support system gave us huge peace of mind when taking on this DIY project.
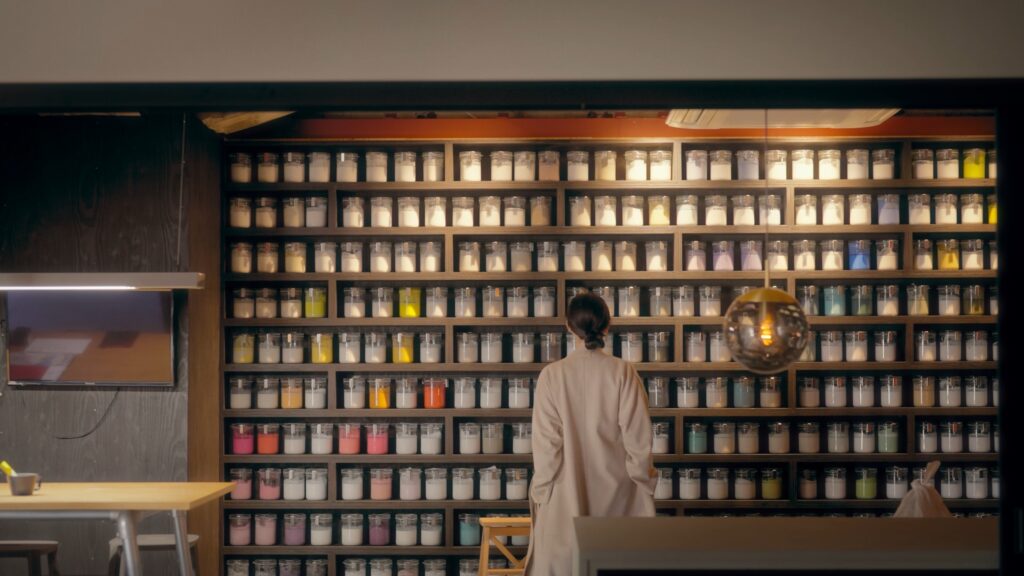
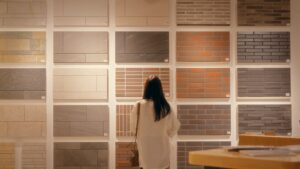
PORTER’S PAINTS Showroom
(NENGO Co., Ltd.)
| Address | 7-1-3 Shimosakunobe, Takatsu-ku, Kawasaki, Kanagawa |
| Access | 15-minute walk from the South Exit of Mizonokuchi Station (Tokyu Den-en-toshi Line) |
| Reserve | Reservation required (can be booked via their official website) |
A Gentle Texture That Captures Light
I still clearly remember how moved I was when we visited the Kawasaki showroom and saw the Porter’s Paints interiors up close.
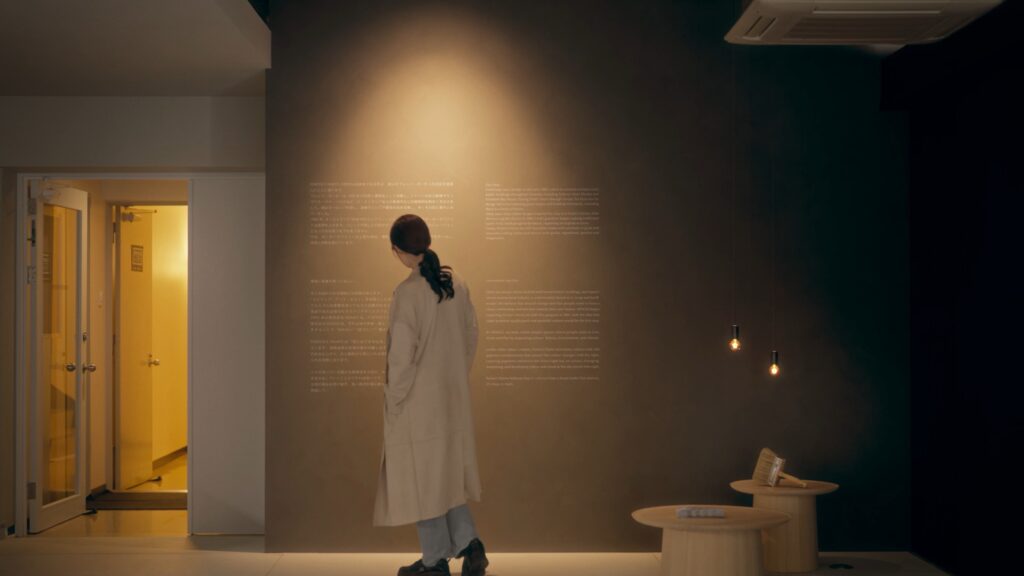

The soft shadows when light hits it and the warmth of handcraftsmanship—things that standard wallpaper simply cannot replicate.
We were totally captivated by this space and absolutely determined, “We have to paint our house with this.”
Meeting a Reliable Representative
Above all, the staff member who assisted us played a massive role.
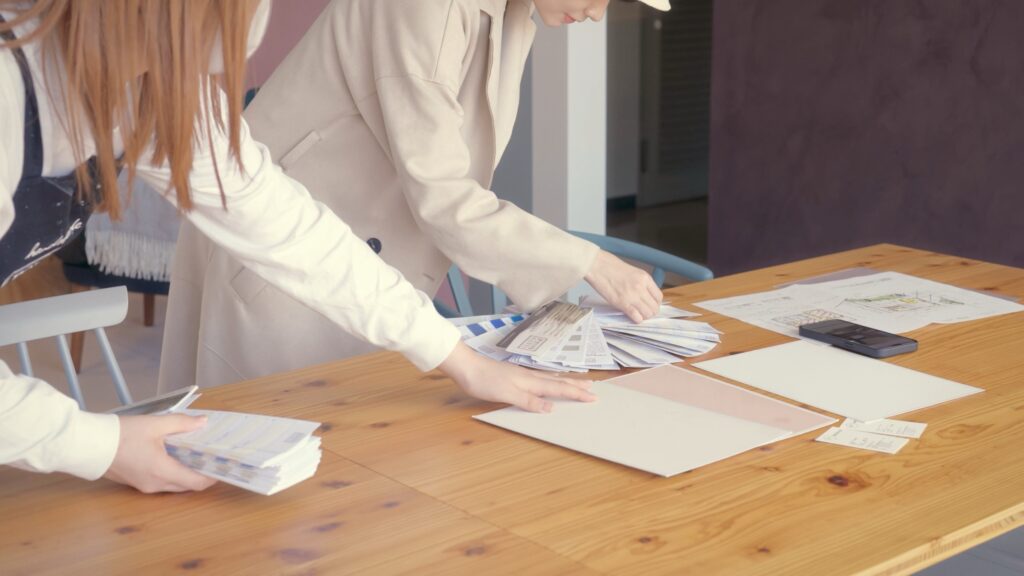
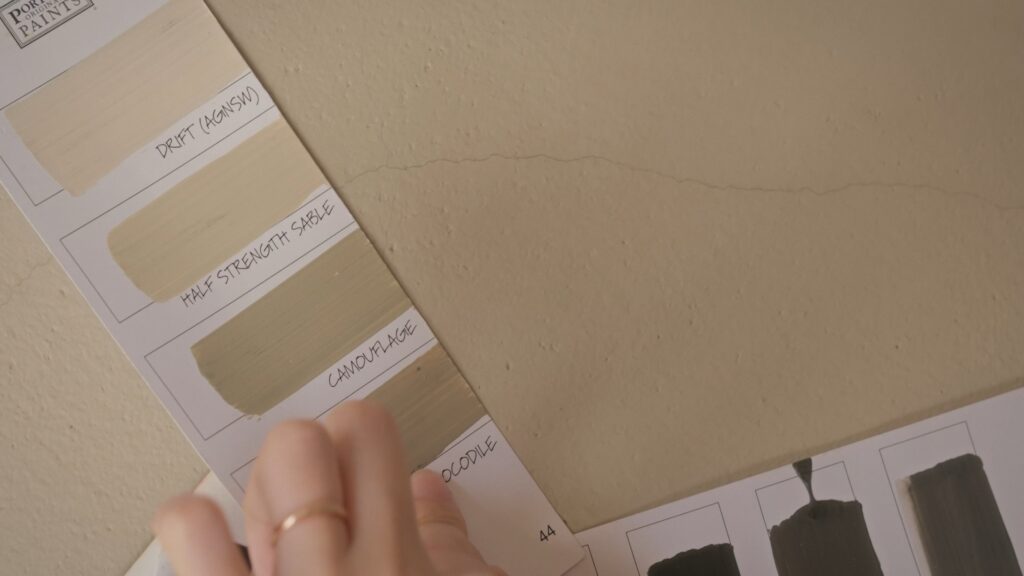
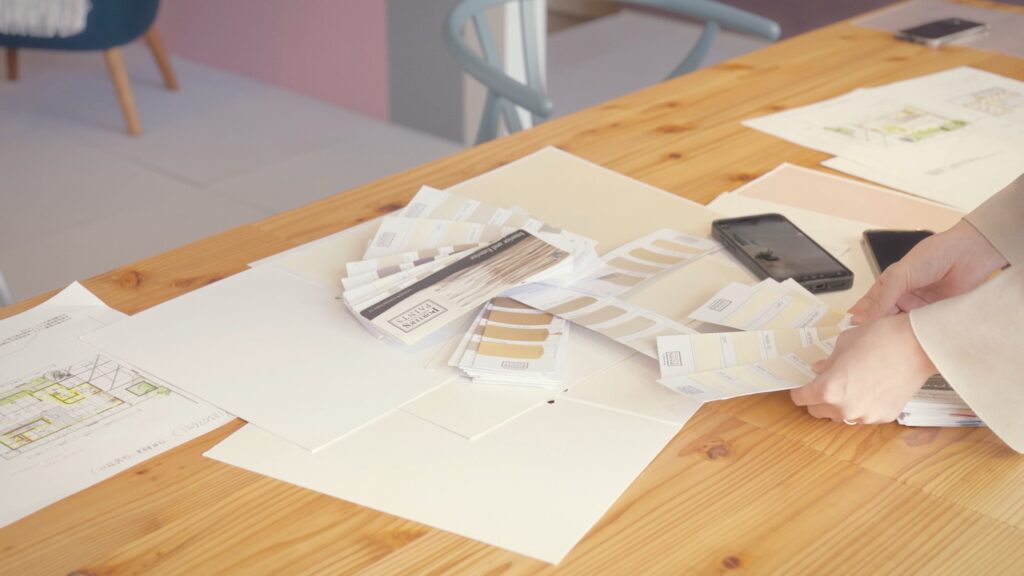
She responded earnestly during meetings and via email, provided careful guidance during the paint lecture, and kindly consulted with us using past examples and color cards to match the flooring and door samples we brought in.
From our Porter’s Paints rep to our Sumitomo Forestry sales rep, architect, and interior coordinator (IC).Thanks to this incredibly blessed team, we were able to turn our ideal home into reality.
Whether or not you meet professionals who make you think, “I want to build my house with them,” drastically changes how satisfied you’ll be with the process.
If anyone is currently considering this, we can directly introduce you to the amazing reps who helped us.

The Purchasing Process
Here is the general flow of ordering Porter’s Paints for a DIY project:
- 1. Showroom Visit & Paint Lecture Booking
Book via their website beforehand to learn the actual painting techniques. - 2. Sending Floor Plans & Choosing Colors/Textures
Provide your floor plans so they can calculate the paintable area. Bringing samples of your flooring makes color matching much easier. - 3. Receiving the Quote & Payment
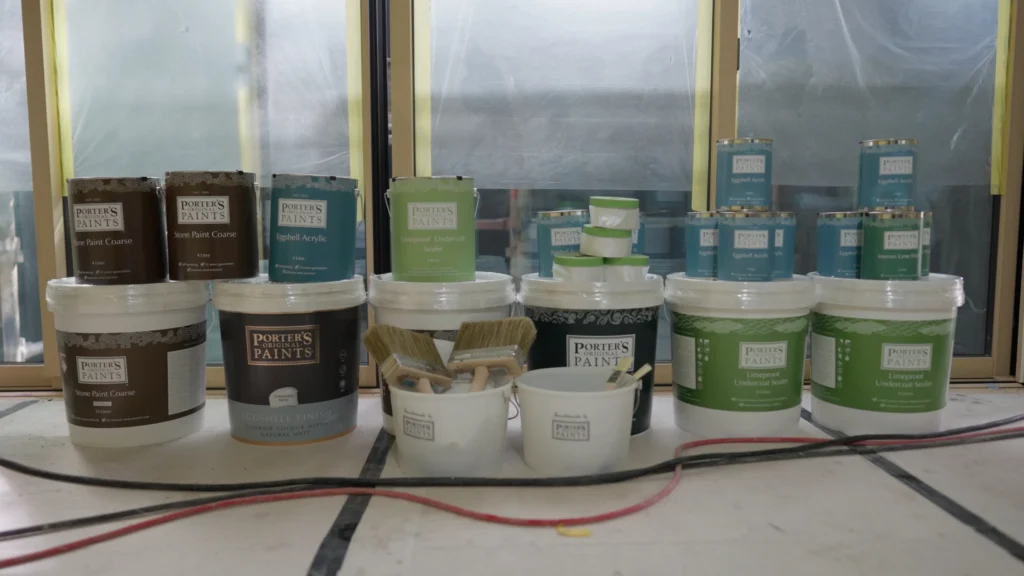
They will provide a quote based on the amount of paint and tools needed. The paint mixing begins after payment is confirmed. - 4. Delivery to the Site
They delivered it directly to our new house, perfectly timed with our construction schedule. (We had 9 cardboard boxes full!)
Essential DIY Tools
To cover such a vast area, we needed more than just the official paint set (brushes, small brushes, buckets). Here are the extra items we bought that truly saved us.
When gathering DIY tools, buying them in bulk online is often practically cheaper due to points/cashback. We relied heavily on this strategy.
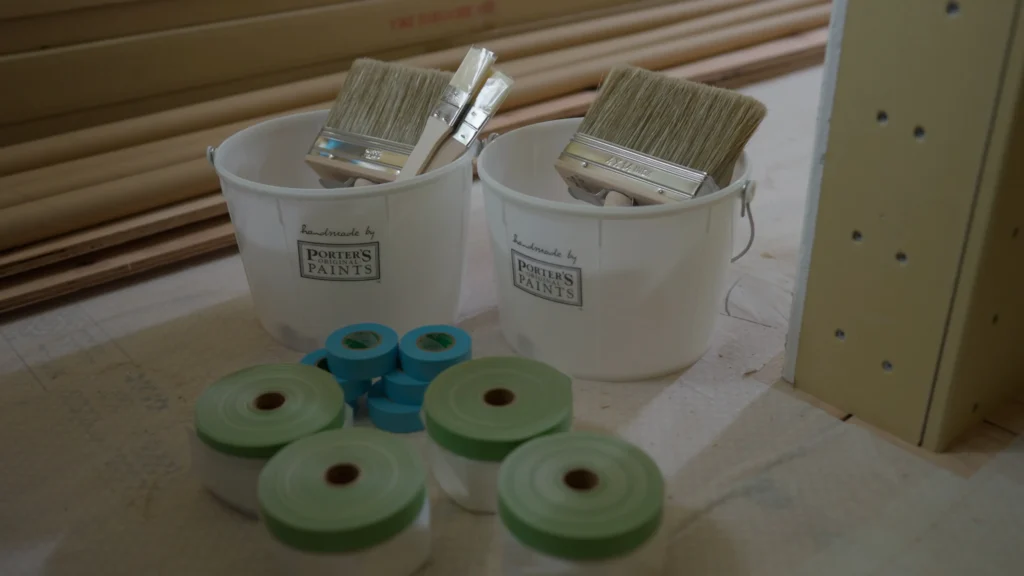
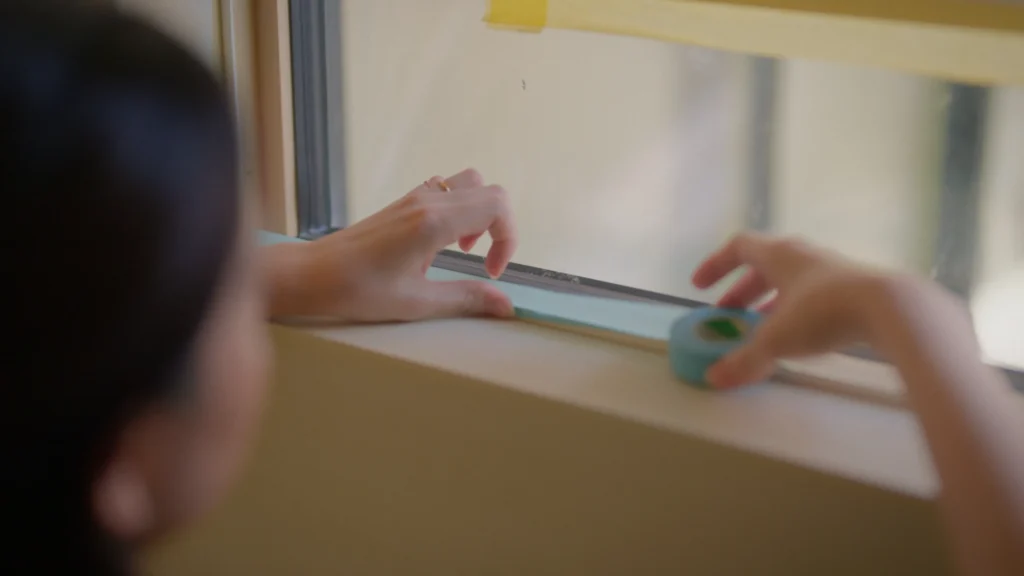
- Nichiban Masking Tape
- Masker Film (550mm & 1100mm)
- Caulking (Clear & White)
- Repair Putty
- Stainless Steel Spatula (Putty Knife)
- Sandpaper (#150 – #240)
- Stain-Blocking Sealer (Primer)
- Aluminum Work Platform (Scaffolding)
- Telescopic Ladder
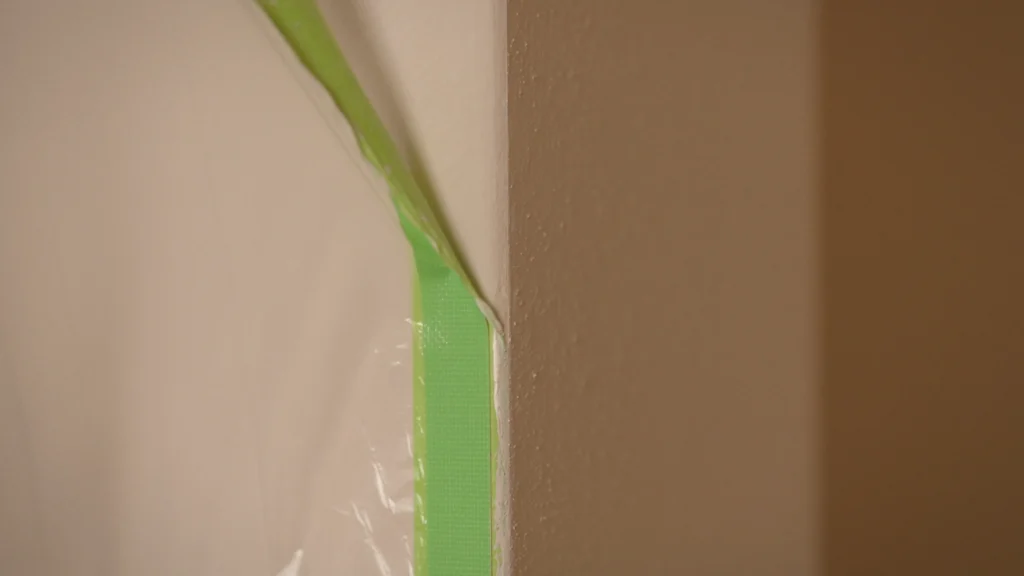
Nichiban Masking Tape
If you use cheap masking tape, the masker film won’t stick well and will peel off, doubling your work.
The quality of your prep work (masking) drastically dictates the perfection of your painted wall.
I highly recommend using proper painter’s tape.
Nichiban’s architectural painting tape (15mm and 24mm) was by far the easiest to use!
Masker Film (550mm & 1100mm)
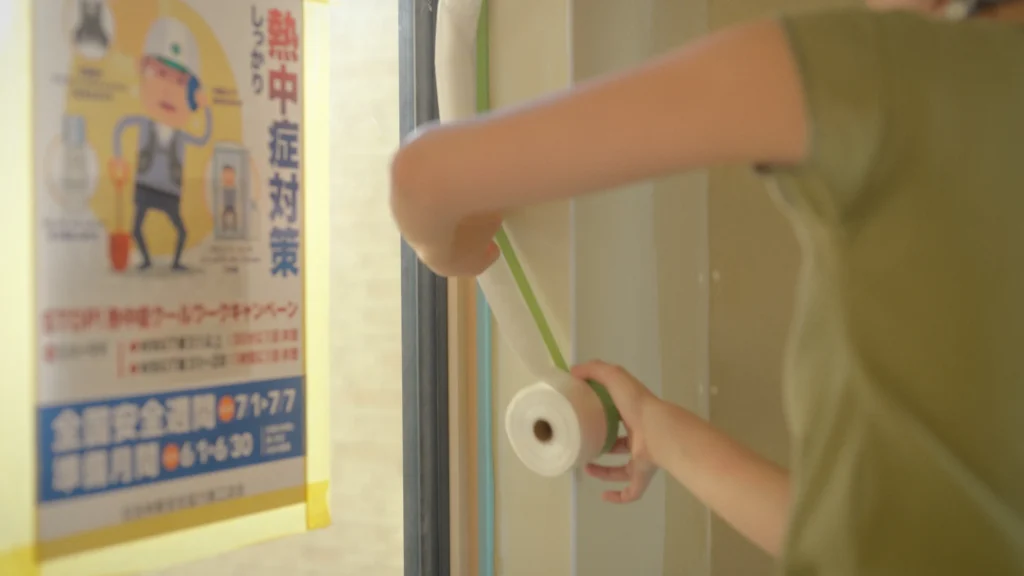
This is tape and plastic sheeting combined into one.
It allows you to thoroughly protect areas you aren’t painting.
We burned through the wide 1100mm size to quickly cover windows and shelves. (We used over 30 rolls in total!)

Even if you have leftovers, you can use them for kids’ messy eating or repotting plants, so having too much is never a bad thing!
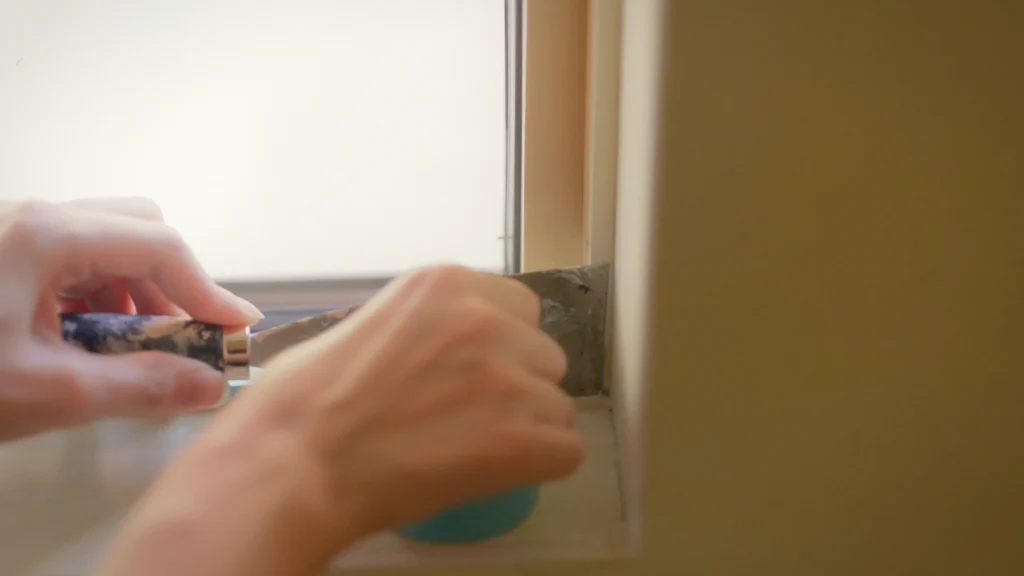
Caulking (Clear)
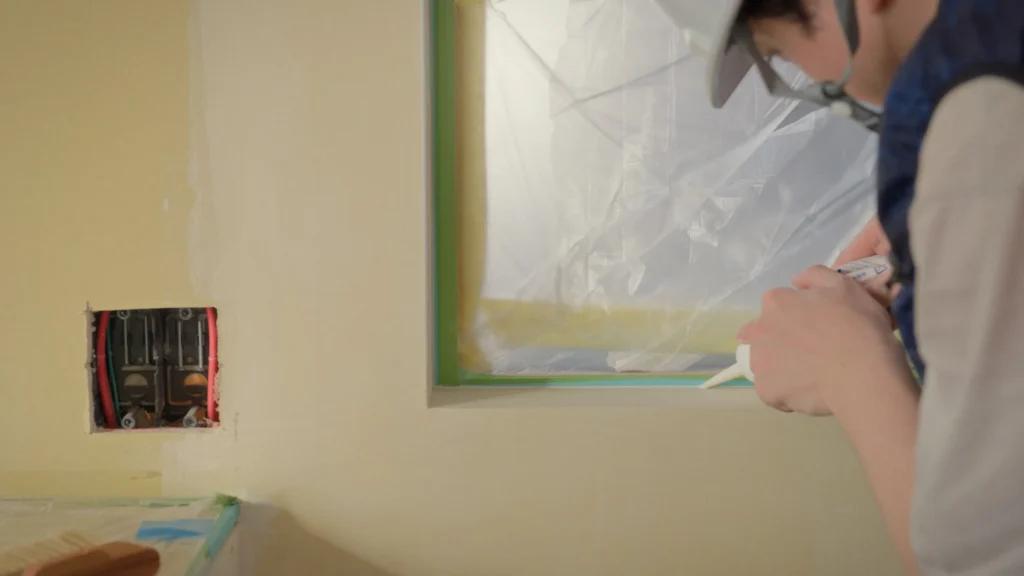
This is essential for filling the tiny gap between the masking tape and the wall to ensure crisp paint borders.
We also used it to easily fill gaps in the inside corners.
If you want a clean finish, caulking is a must.
It’s a tedious step, but doing this completely changes the level of perfection!
Repair Putty for Filling Wall Holes
When painting directly on plasterboard rather than paintable wallpaper, screw holes will inevitably show.
This happens because the putty can shrink over time, no matter how carefully the craftsmen apply it.
It’s handy to have this around so you can fill them yourself as soon as you spot them. It’s very easy for amateurs to use.
The Versatile Stainless Steel Spatula (Putty Knife)
It’s incredibly versatile—whether you’re cutting masking tape cleanly or filling screw holes with putty.
Sandpaper to Change the Finish
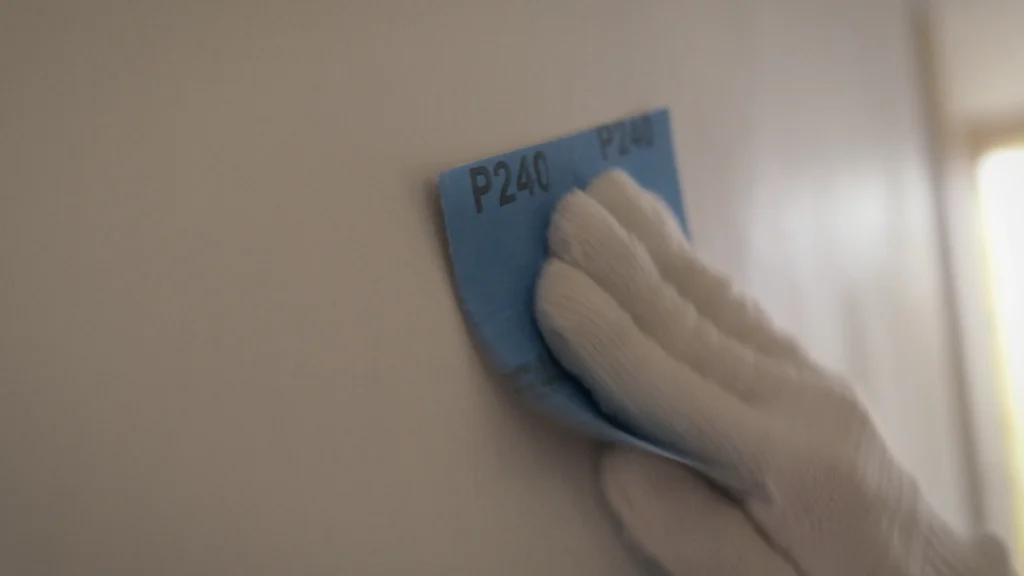
Sanding away clumps of sealer or paint, tiny dust particles, or loose brush bristles every time ensures a beautiful finish.
We recommend “medium to fine” grits like #150 to #240 so you don’t over-sand.
We used #150 for large clumps or bristles, and #240 for fine dust.
Sanding creates dust, so make sure to ventilate the room well and wear a mask.
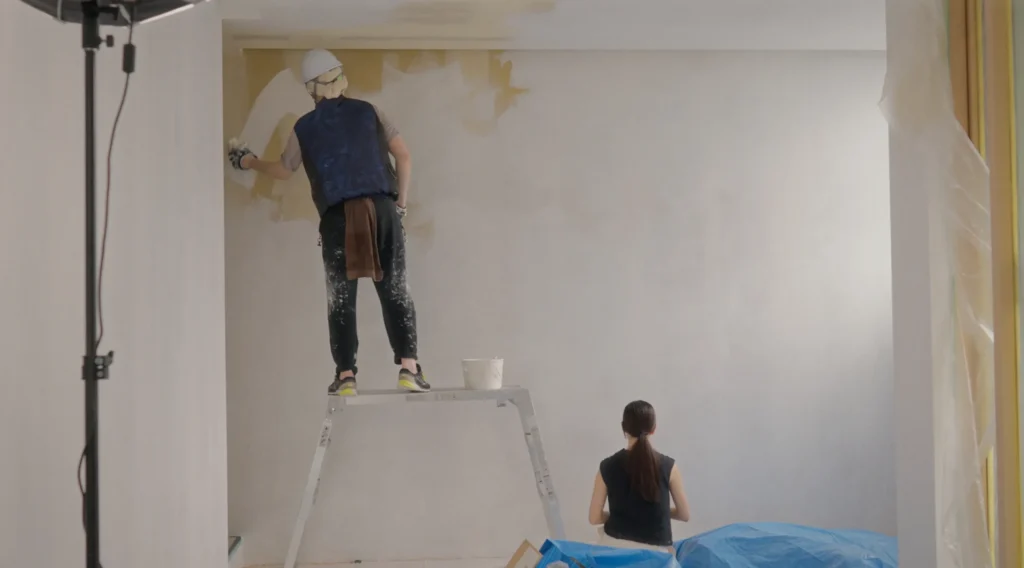
Stain-Blocking Sealer (Primer)
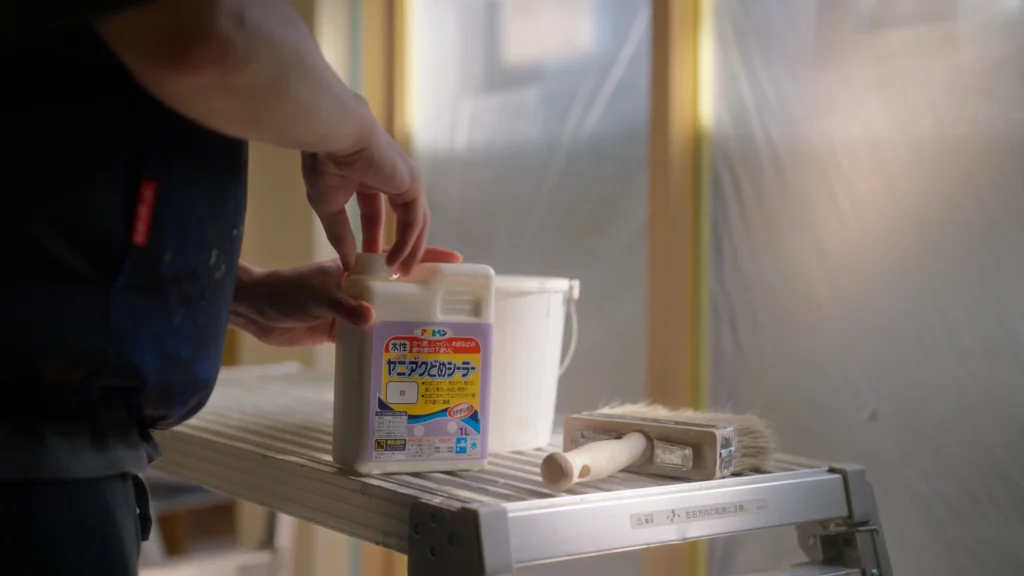
We used this on parts where the base wasn’t plasterboard but wood (like plywood)—such as our custom kitchen and curved walls.
It prevents the wood’s tannins (stains) from bleeding through.
1 liter was exactly enough for the custom kitchen, the curved wall, and 3 archways.
Aluminum Car Wash Platform (Work Scaffold)
Our house has 2.8m high ceilings, plus tray ceilings, so having a wide platform where we could paint while shuffling sideways was incredibly helpful.
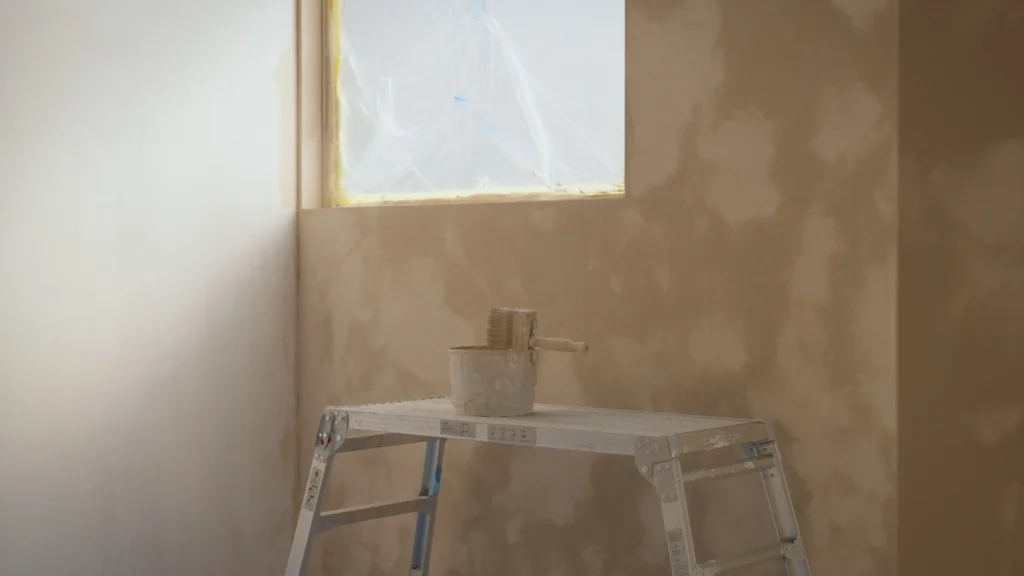
It’s height-adjustable, and because you can fine-tune each leg independently, it’s super convenient even on uneven surfaces like stairs.
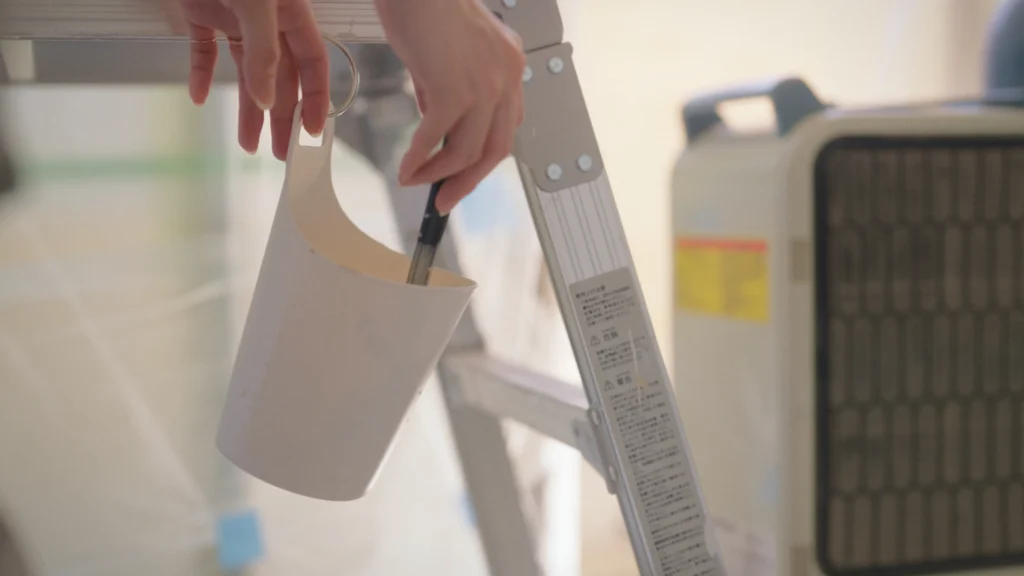
Telescopic Ladder for Uneven Ground
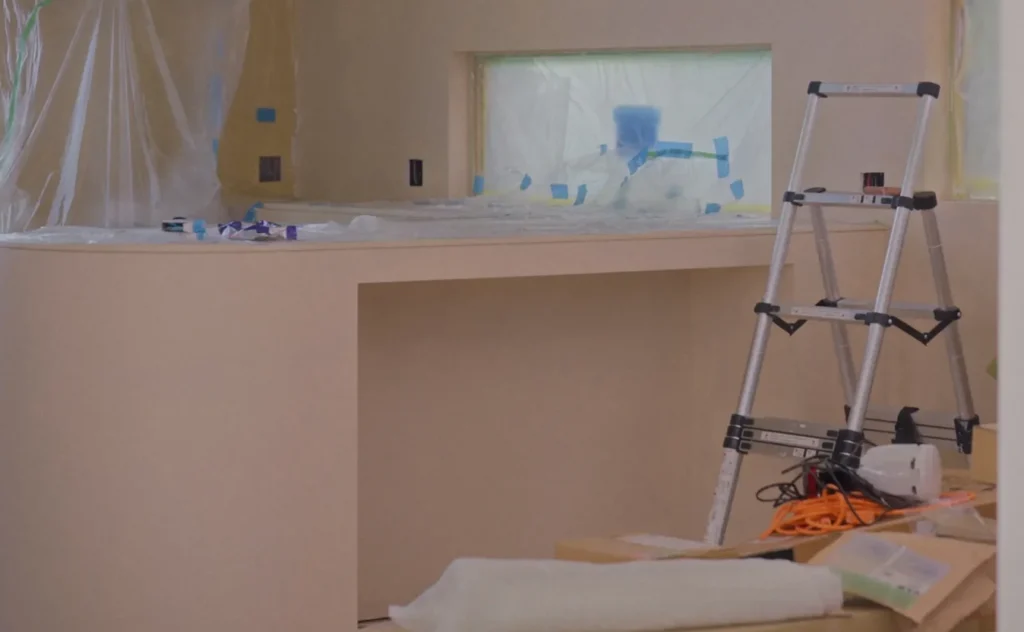
This was a lifesaver for painting areas the scaffolding couldn’t reach, like the stairwell.
Because all the legs can be adjusted independently, it can be safely used even on stepped surfaces like stairs.
You don’t need to buy expensive versions; these items from the 100 Yen shop are perfect substitutes.
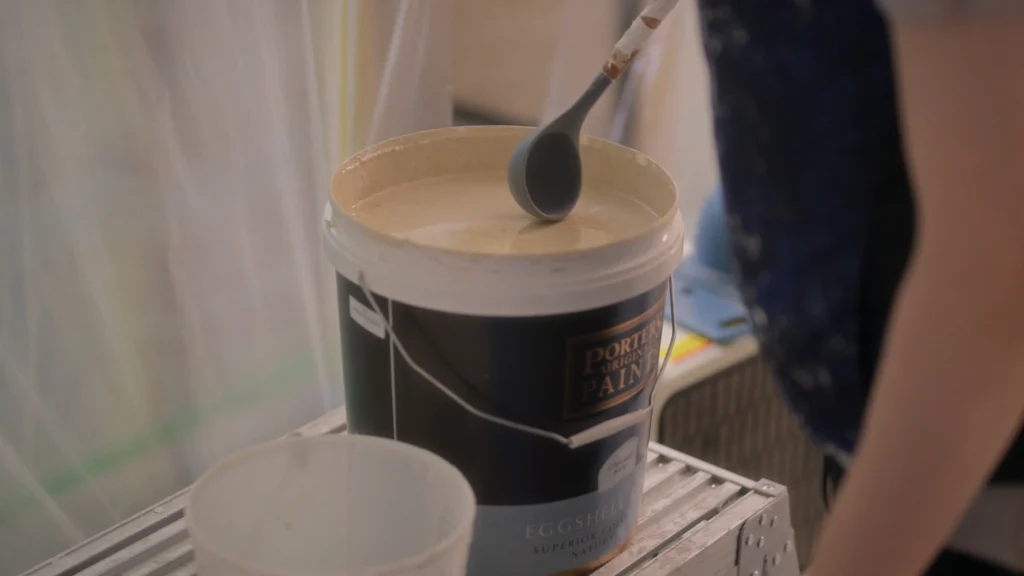
- A long stick for stirring the paint.
- A ladle for scooping paint.
- A small bucket to hold the messy ladle.
\ Click here for painting tips and touch-up hacks /

Comments